Kickstart - Getting Started
Everybody who wanted to deploy a bunch of GNU/Linux machines at the same time was facing the same problem. Do I really want to click through the initial installer? Isn't there a better way? This article will demonstrate how Kickstart can be used.

Everybody who wanted to deploy a bunch of GNU/Linux machines at the same time was facing the same problem. Do I really want to click through the initial installer? Isn't there a better way? This article will demonstrate how Kickstart can be used to make the deployment of bare metal machines and virtual servers a piece of cake.
Kickstart is somewhat exclusive for the Red Hat Family distributions. There are other options like Preseed or cloud-init, which will be addressed in a later article. Let's stick to Kickstart for now. :)
Kickstart
Many administrators and developers seek to automate the "question and answer" procedure of an installation. To respond to this demand, Red Hat created the Kickstart installation method. With a single file, you can answer all questions that will be asked during the installation, and you can add even more automation to it.
Furthermore, you can ship Kickstart files in many ways. You can keep them on a server, put them on a stick, or bundle them with your image.
Why to use
So, why should you use a Kickstart file? There are 3 major points, I want to grab here. But, let's be honest: "Because it is fancy. :p"
Repeatable work
If you want to set up tens or hundreds of machines the same way, Kickstart will be very handy. But it is also helpful to re-install the same machine over and over again.
Documentation
Kickstart provides a way to document how your machine is looking. You can get the gist of the installation (packages, installation method, partitioning, etc.) with just one file.
Avoiding failures
We are humans, after all, and if we do things manually, we will make mistakes. Avoiding or reducing these errors can be mitigated with a proper automation, that can be tested and validated.
How it works
You can see Kickstart as an extension to the Red Hat installer (Anaconda). This installer is used for Fedora, CentOS, Rocky Linux, Alma Linux and yes, Red Hat Enterprise Linux.
If you boot up an ISO, it will start the installer at some point. Anaconda parses information that were provided with the boot parameters. One of these parameters (inst.ks) can be the path/URL to a Kickstart file.

Now, the Kickstart file is parsed and if possible all questions will be answered and the automatic installation will be performed. If defined, you can also add more tasks, like starting services, creating files or reboot the machine at the end.
How to use
Enough of the theory, let's make a Kickstart file and test it. Shall we?
Requirements
We will only need a single Virtual Machine, a Web server and a Fedora Installation Image to start. For the most simple start, I recommend a setup like this:
Virtualization
GNOME Boxes (on Linux) or VirtualBox (on macOS and Windows) for virtualization. Be aware, that I haven't tested this with VirtualBox.
Installation Image
My example will use a network based installation, to fetch updates during the setup. You can download the netinstall image for Fedora, which can be found here.
Webserver
You just require something, that can ship the Kickstart file. This can be done from every service, that allows to access RAW files. Below, you can find some examples:
Writing a Kickstart file
In general, a Kickstart file is quite easy. But there are some things, that may lead to "interesting" behavior. Let's have a look at an example file, and talk about the different blocks in there.
First, you can choose the presentation mode. I recommend setting it to "text". This makes it easier to be differentiated from the "normal" graphical installation.
# Choosing mode (graphical|text|cmdline [--non-interactive])
textThe next thing, you need to define is the installation mode. You can select url, cdrom, nfs and other options. In the below example, you can see how a network installation from a given URL can be done.
# Use network installation
url --mirrorlist https://mirrors.fedoraproject.org/mirrorlist?repo=fedora-35&arch=x86_64The next block enables/disables the first boot. This can be used to run the "initial-setup" agent at the first boot. We don't want this in general.
# Initial Setup Agent on first boot
firstboot --disabledThe next block is used to define some language and location settings. For servers, I recommend using English system language (logs are easier to report and tutorials easier to follow) and UTC as the timezone (nobody wants to fiddle with Daylight Saving times.
# System language
lang en_US.UTF-8
# Keyboard layout
keyboard --vckeymap=us --xlayouts="us"
# System timezone
timezone Etc/UTC --utcThe following block is an important one and is used to configure the network. You can do basically everything here, like assigning IP addresses, creating bond devices, bridges and many more.
# Network information
network --bootproto=dhcp --device=link --onboot=on
network --hostname=home.localCreating users and setting passwords is a nice idea, too. Be aware, that I am using a plaintext password here, which is a very bad idea for public server installations. There is an option to provide a password hash. I am also locking the root user.
# Root password
rootpw --lock
# User password
user --name=admin --groups=wheel --gecos=admin --password=passwordFurthermore, you can configure the firewall and SELinux.
# Firewall configuration
firewall --enabled --ssh

# SELinux
selinux --enforcingYou can also create your partitions with Kickstart. For now, I am sticking to "clear everything and auto-create new partitions". But there are lots of actions to create LVM volumes, partitions and basically define everything you desire.
# Partitioning

## Clearing
ignoredisk --only-use=vda
zerombr
clearpart --all --initlabel --disklabel=gpt

## Partition layout
autopart --nohomeYou can also add packages and services to your Kickstart configuration.
# Packages
%packages --retries=5 --timeout=20
@core
ansible
cockpit
%end

# Services
services --enabled=cockpit.socket,sshd.serviceLastly, you can define what should happen after the installation. Rebooting is an idea here.
# Reboot the system after installation.
reboot
If you put everything together, a Kickstart file might look like this.
# Choosing mode (graphical|text|cmdline [--non-interactive])
text

# Use network installation
url --mirrorlist https://mirrors.fedoraproject.org/mirrorlist?repo=fedora-35&arch=x86_64

# Initial Setup Agent on first boot
firstboot --disabled

# System language
lang en_US.UTF-8
# Keyboard layout
keyboard --vckeymap=us --xlayouts="us"
# System timezone
timezone Etc/UTC --utc

# Network information
network --bootproto=dhcp --device=link --onboot=on
network --hostname=home.local

# Root password
rootpw --lock
# User password
user --name=admin --groups=wheel --gecos=admin --password=password

# Firewall configuration
firewall --enabled --ssh

# SELinux
selinux --enforcing

# Partitioning

## Clearing
ignoredisk --only-use=vda
zerombr
clearpart --all --initlabel --disklabel=gpt

## Partition layout
autopart --nohome

# Packages
%packages --retries=5 --timeout=20
@core
ansible
cockpit
%end

# Services
services --enabled=cockpit.socket,sshd.service

# Reboot the system after installation.
reboot
This is, by the way, the example from my "Fedora - Home Server (Automation)" article. You can find the RAW version of the file here, if you want to test it on your own. In case you want to publish your own Kickstart file, you have to ensure that the RAW (w/o decorations and HTML) version of it is accessible.
Using a Kickstart file
Now that we have written a Kickstart file (or using mine), we can perform a Kickstart installation. The easiest way is to boot up an installation media and provide parameters to use Kickstart.
The below scenario describes how you can do this in GNOME Boxes.
Start an installation
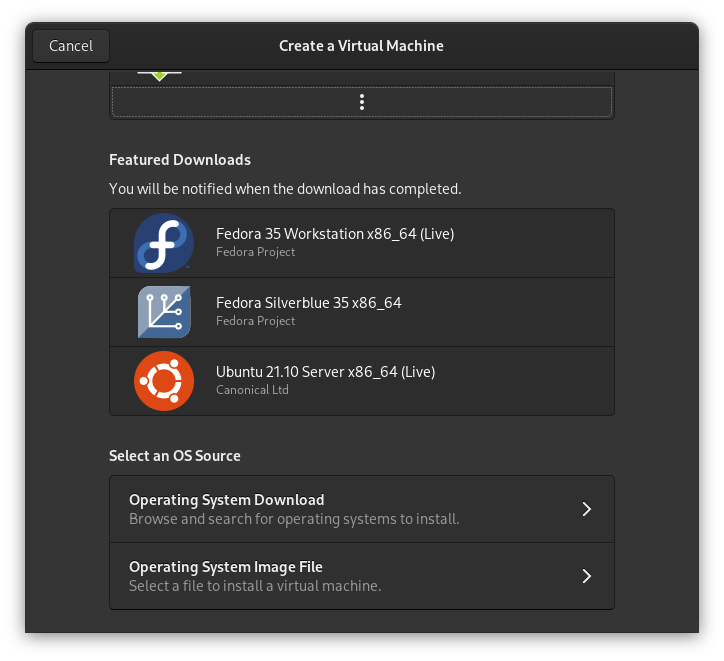
Open GNOME Boxes and click on the "+" in the top left corner. You can an option to provide an "Operating System Image File" at the end.
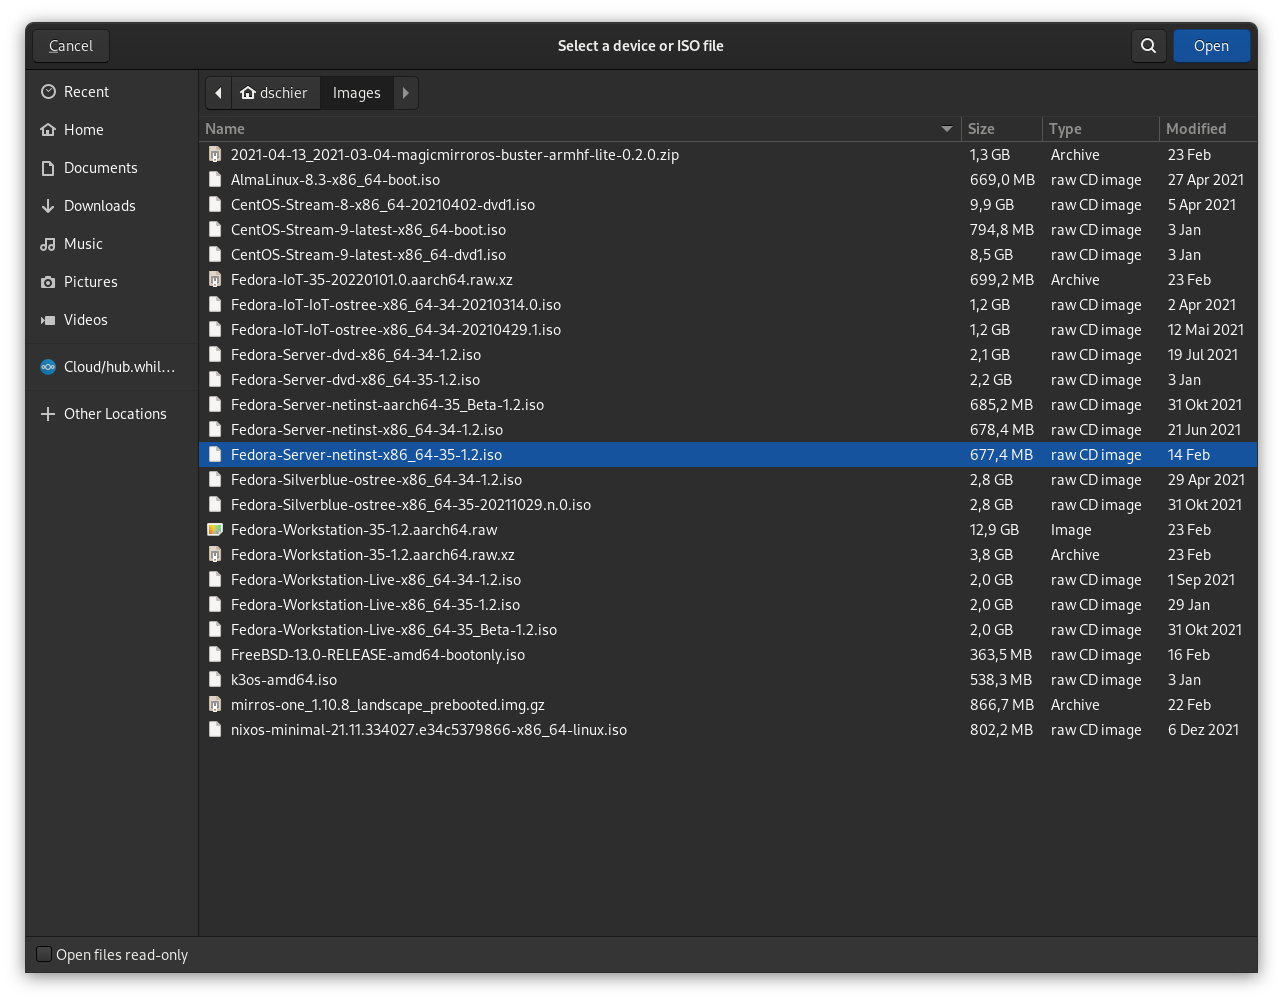
Choose the downloaded image in the File Picker.
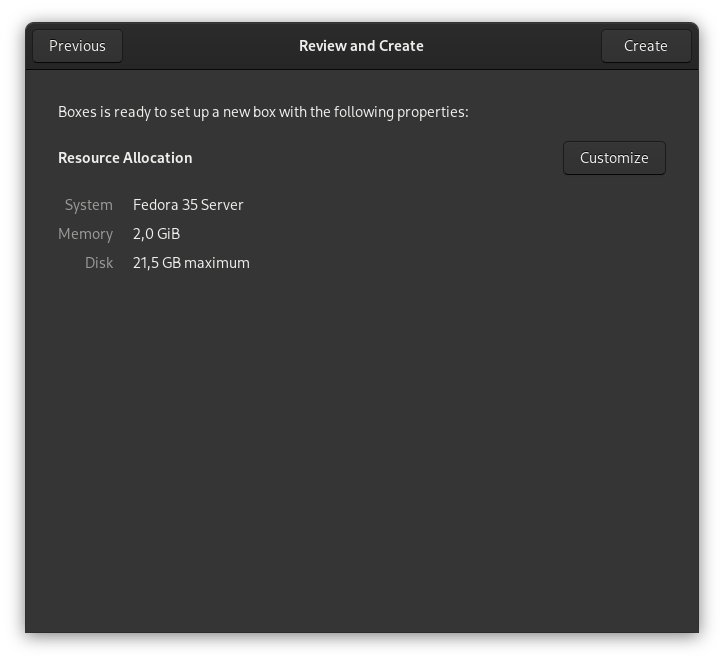
Afterwards, you can customize the allocated resources.
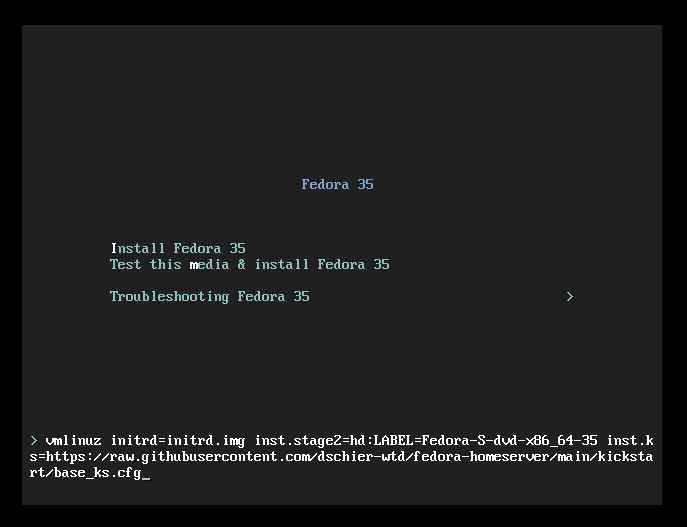
After confirming the above, the machine will start and after some seconds, you need to interrupt the boot at the below screen. By hitting TAB, you can edit the first entry and edit it as shown below. Effectively, you need to append inst.ks=https://path.to.your/kickstart/file.cfg.
Confirming this with Enter will start the installation and eventually, you will see a screen like the below, which indicated that the automated installation is running.
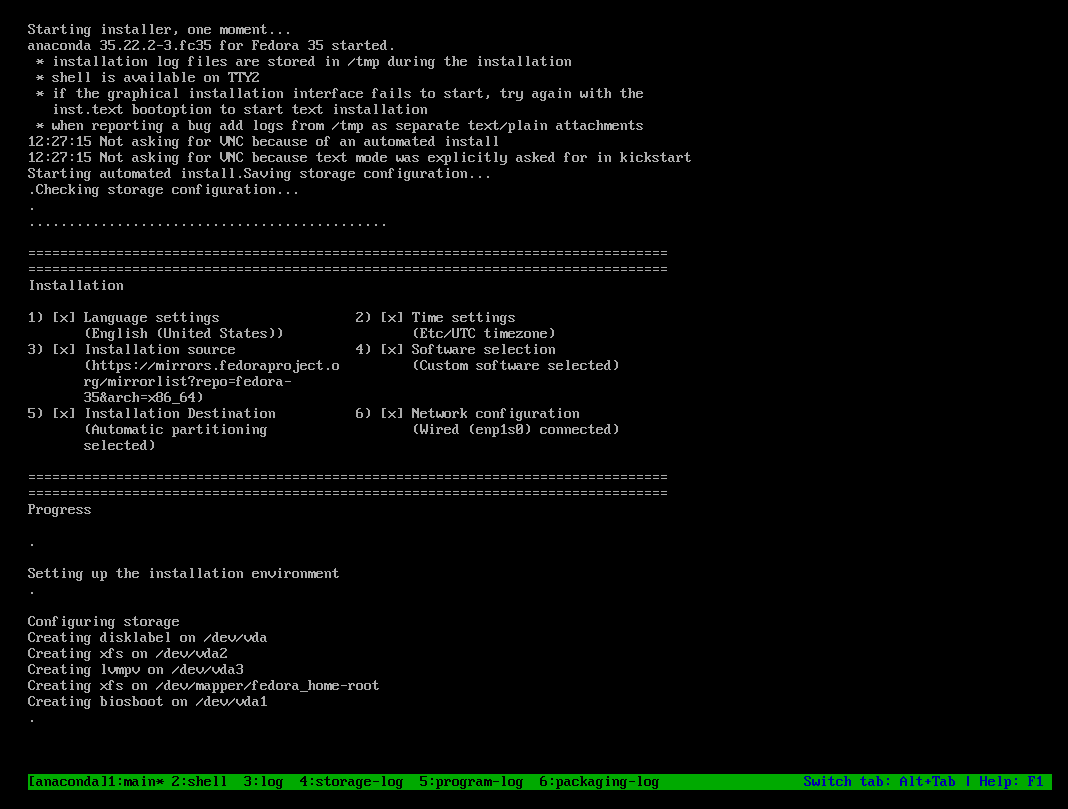
The machine will reboot at the end of the installation, and you can log in with the provided credentials from your Kickstart file.
The next step would be to automate this "interrupt procedure" even further. This can be done via Network Boot or by preparing some installation media. Both will be tackled in a future article, too.
Tipps
Starting with Kickstart can be a bit cumbersome, and you might need a Kickstart on your own?
Tipp #1: All Red Hat family derivates are creating a Kickstart file, if you run your installation interactively. Just do the normal things, you are doing, and after the reboot have a look in the /root/ directory. You might be suprised what you find there.
Tipp #2: Red Hat provides a Kickstart file generator, which is far away from perfect, but is quite helpful to get started with some boileplate code.
Tipp #3: Ubuntu supports Kickstart, too.
Docs & Links
Below you can find some documentation, that might be helpful digging deeper into Kickstart.


Conclusion
Yep, that's already it. Now you can automate and document your installations in a pretty convenient way. I am thrilled to hear what you automated.


