Podman - Web UI (via Cockpit)
Podman is the rootless drop-in replacement for Docker, but how do you administer Podman containers, images and more with the browser? Let's check out Cockpit and Podman application for it.


Podman is the rootless drop-in replacement for Docker, but how do you administer Podman containers, images and more with the browser? Let's check out Cockpit and Podman application for it.
Podman
Podman started as an alternative to Docker. Both are Open Source and can run containers in the Docker image format and the OCI format. Some additional features like running rootless and daemonless or the systemd integration made Podman pretty popular.
Today, it matured a lot. You can find desktop clients for Podman, a TUI and lots of tooling like Buildah or skopeo in the containers project.
You can find some articles about Podman, reaching from networking and storage to tools, in the blog, too.
 Daniel Schier
Cockpit
Cockpit is a web interface for Linux administration. The Open Source software is pretty interesting compared to other web interfaces with the same purpose. Cockpit does not hold its own state in a database. Instead, it uses APIs provided by systemd and other tools to show and change the live status of a system.
Cockpit can be extended with additional applications like storage management, virtual machine controls or SELinux auditing.
In the past, I showcased it in some articles and also featured it for my Home Server series.
Daniel Schier
Cockpit + Podman = ❤️
Now, there is Podman and Cockpit. Both are awesome in their own way. Let's combine them and get even more out of them.
Operating system
As the Operating System, I am sticking to the usual Red Hat family. Therefore, the below guide works on RHEL, AlmaLinux, CentOS Stream, Fedora Linux, and Rocky Linux. I will also link the documentation for other Linux derivates at the end of the article.
Installation
On some Fedora derivates, Podman comes already pre-installed. If this is not the case, you can use the following commands.
# Install Podman
$ sudo dnf install podman -y

# Start Podman Socket
$ sudo systemctl enable --now podman.socket
For the installation of Cockpit, some additional steps are needed.
# Install Cockpit
$ sudo dnf install cockpit cockpit-podman

# Start Cockpit Socket
$ sudo systemctl enable --now cockpit.socket

# Open Firewall (if needed)
$ sudo firewall-cmd --add-service=cockpit --permanent
$ sudo firewall-cmd --add-service=cockpit
After doing the above, you should be able to point your browser to https://IP_ADDRESS:9090 and will be greeted with the login prompt from Cockpit. You might need to acknowledge the certificate, first.
Just log in with your Linux credentials and take a first look.
Working with containers
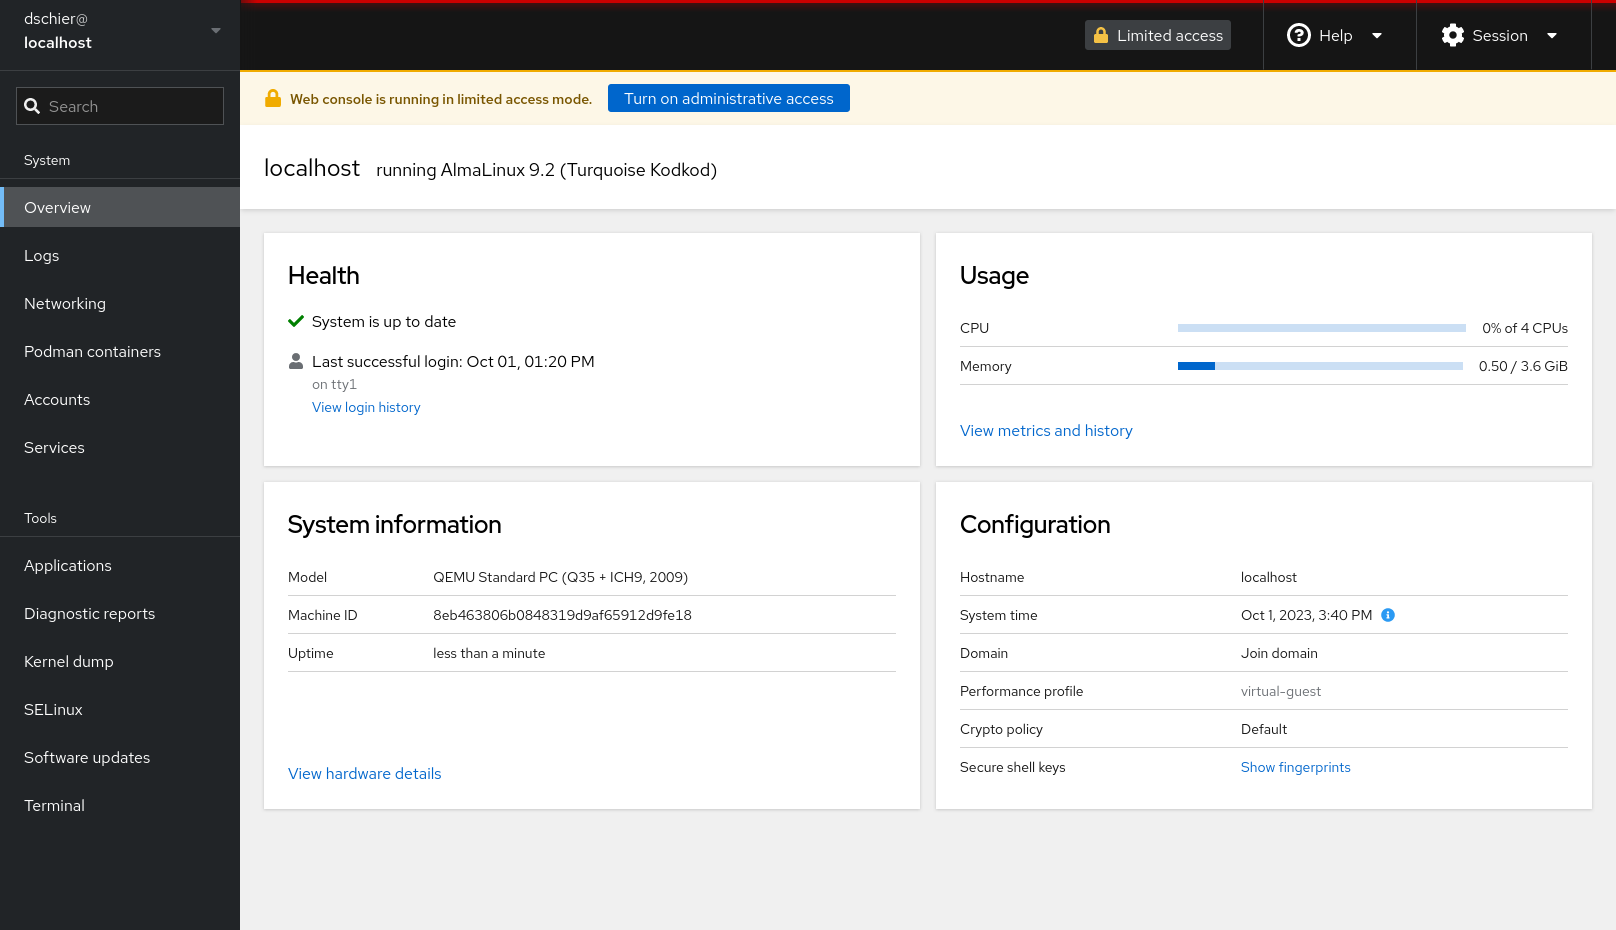
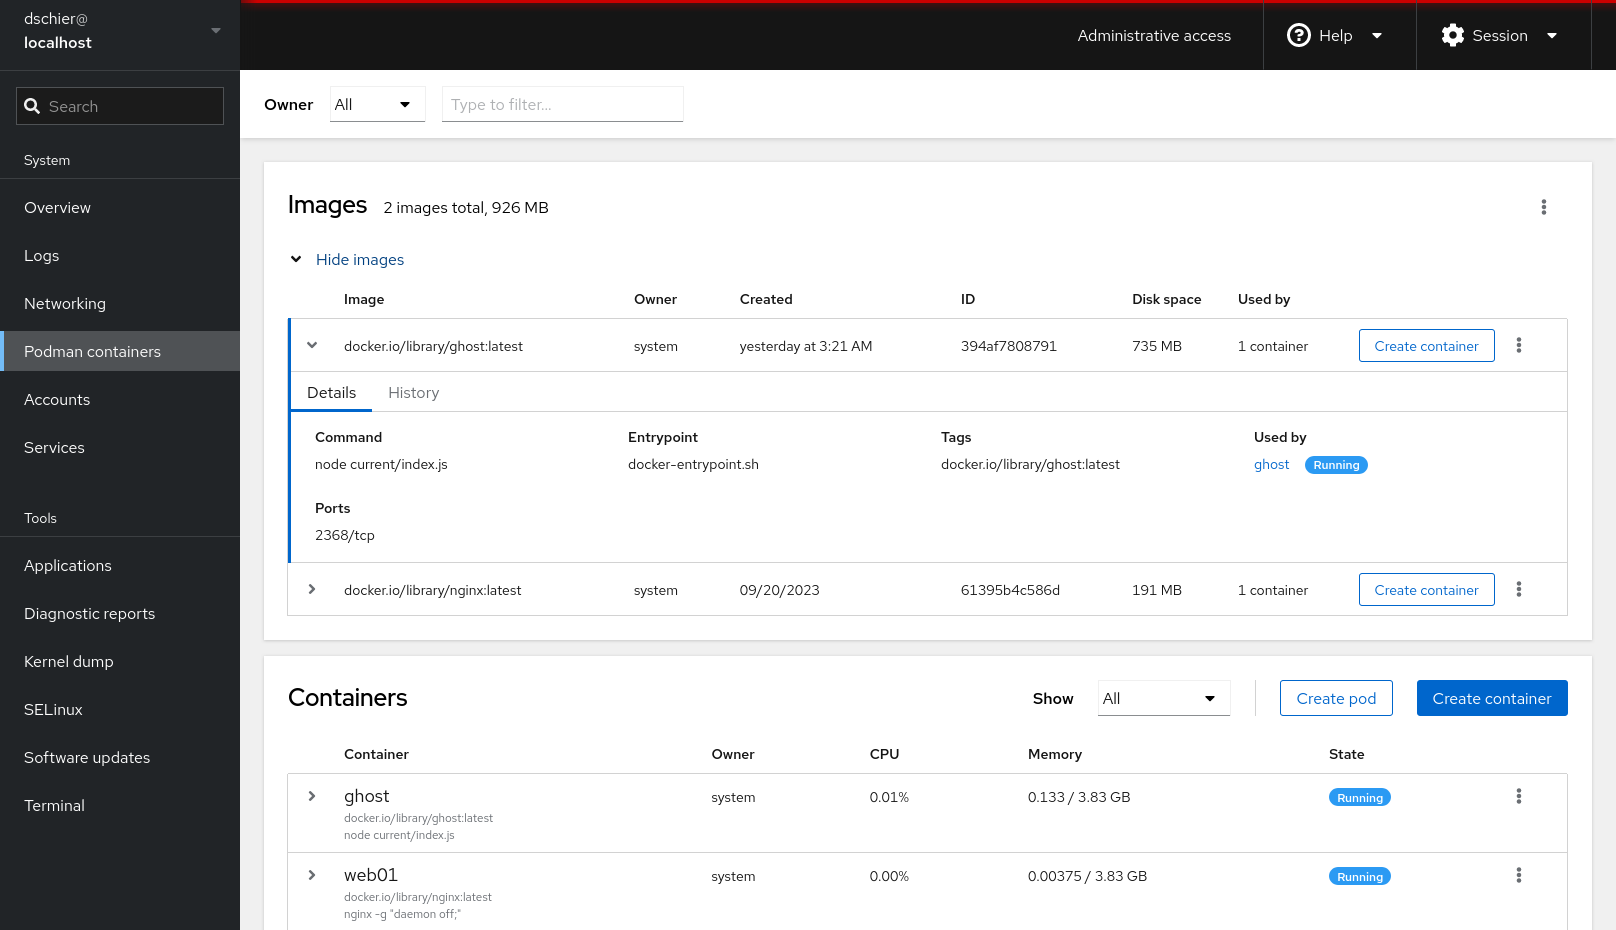
After logging in to your Cockpit, you will be greeted with the below view. As you can see on the left-hand side, there is an item for Podman containers.
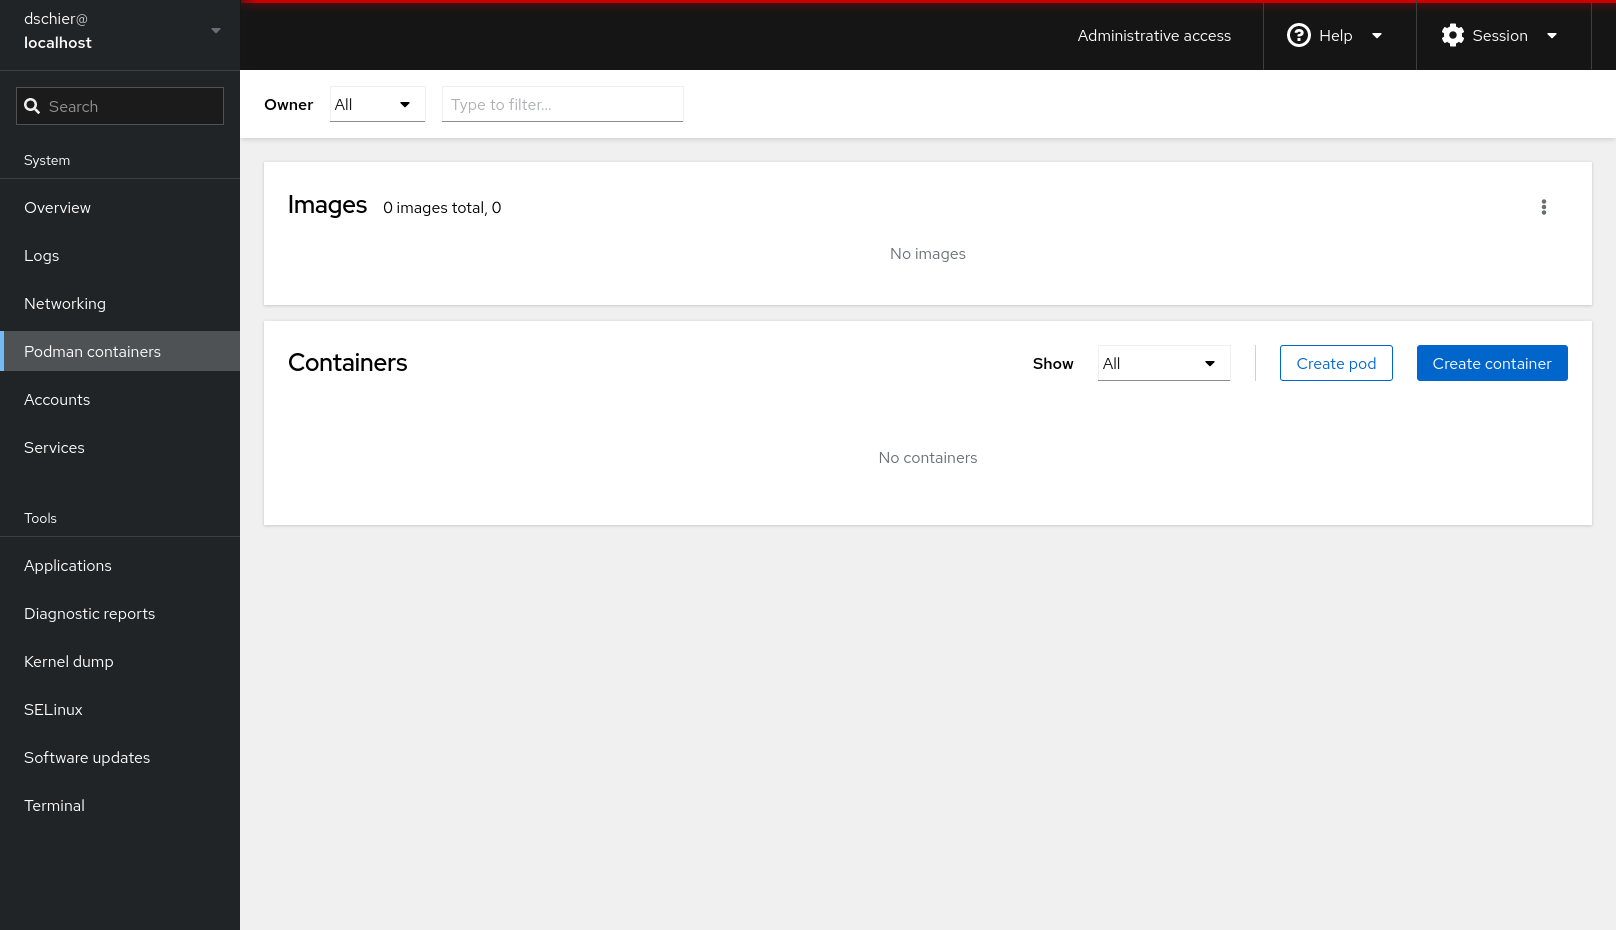
Clicking on it will let you manage Podman containers, pods and images.
Clicking on the Create container button will bring up a dialog where you can create your first container. The below screenshots demonstrates a simple example.
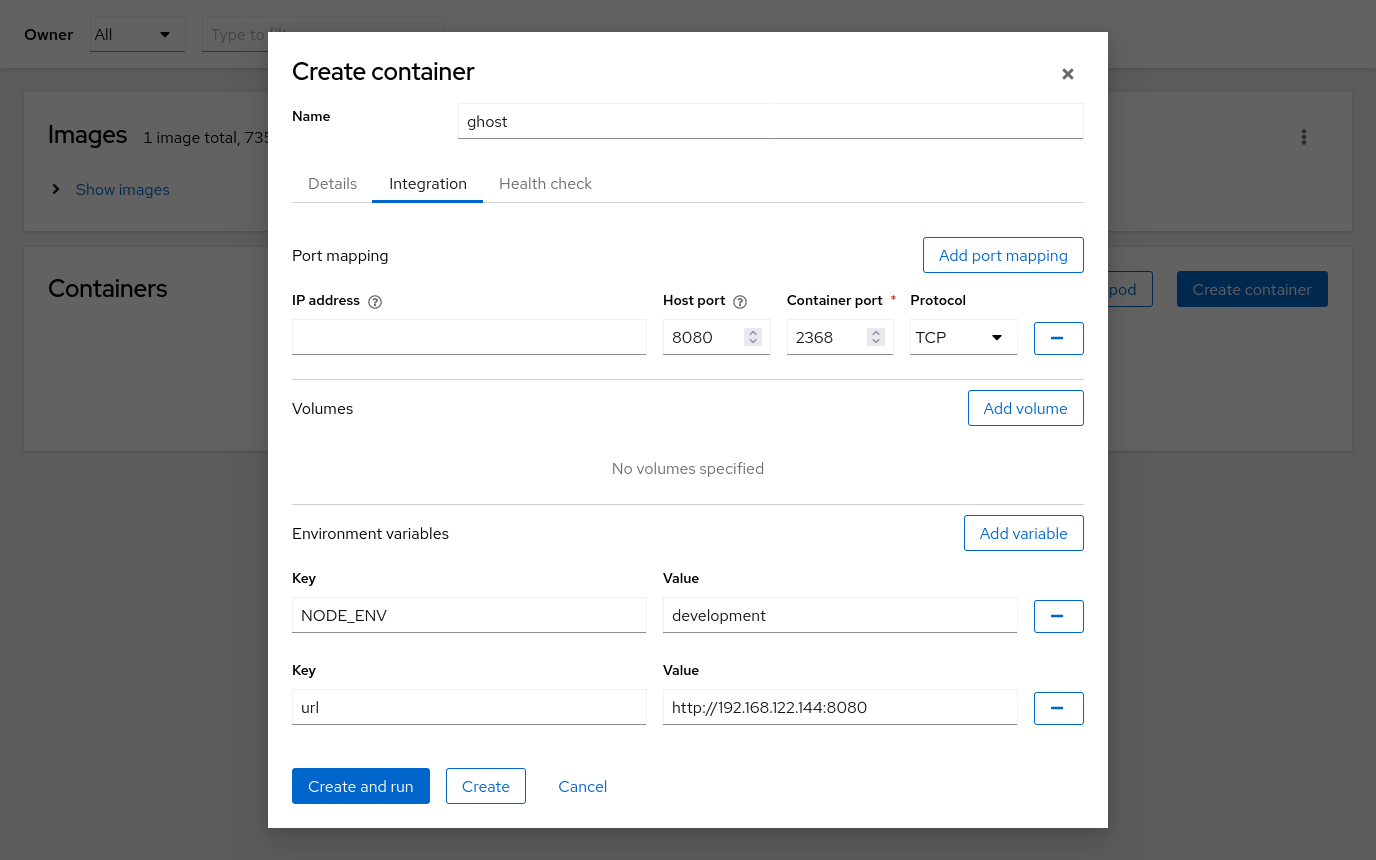
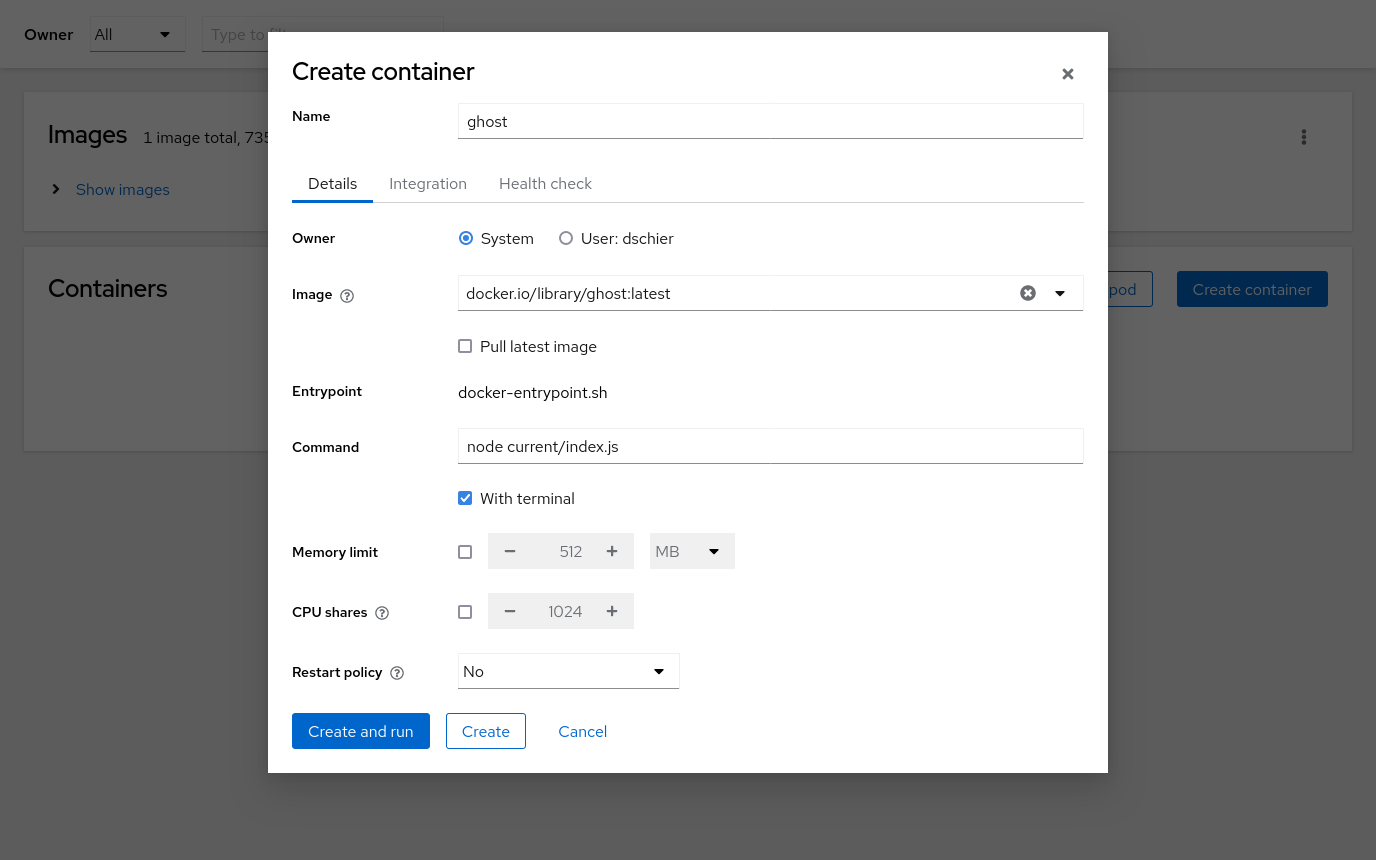
Screenshot - Cockpit Create Container dialog
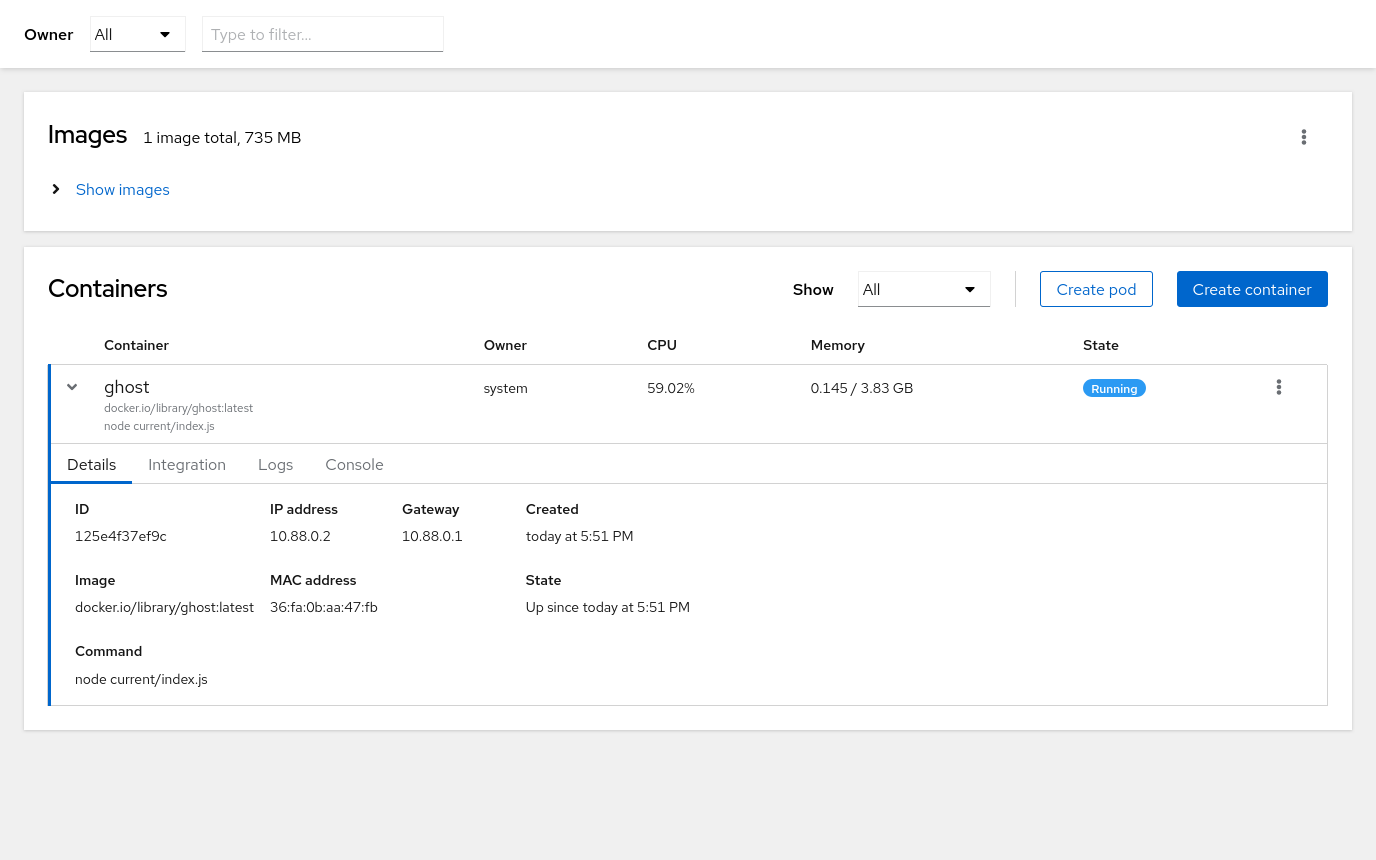
After hitting Create and run, the image will be downloaded and executed. You can see the status in Cockpit, too.
Now, just spin up your browser and point to http://IP_ADDRESS:8080 and you will be greeted from your new Ghost blog instance.

That's how easy it is to get started with Podman and Cockpit. Back to Cockpit, you can see, that you are also able to interact with the new container, check the images and logs.
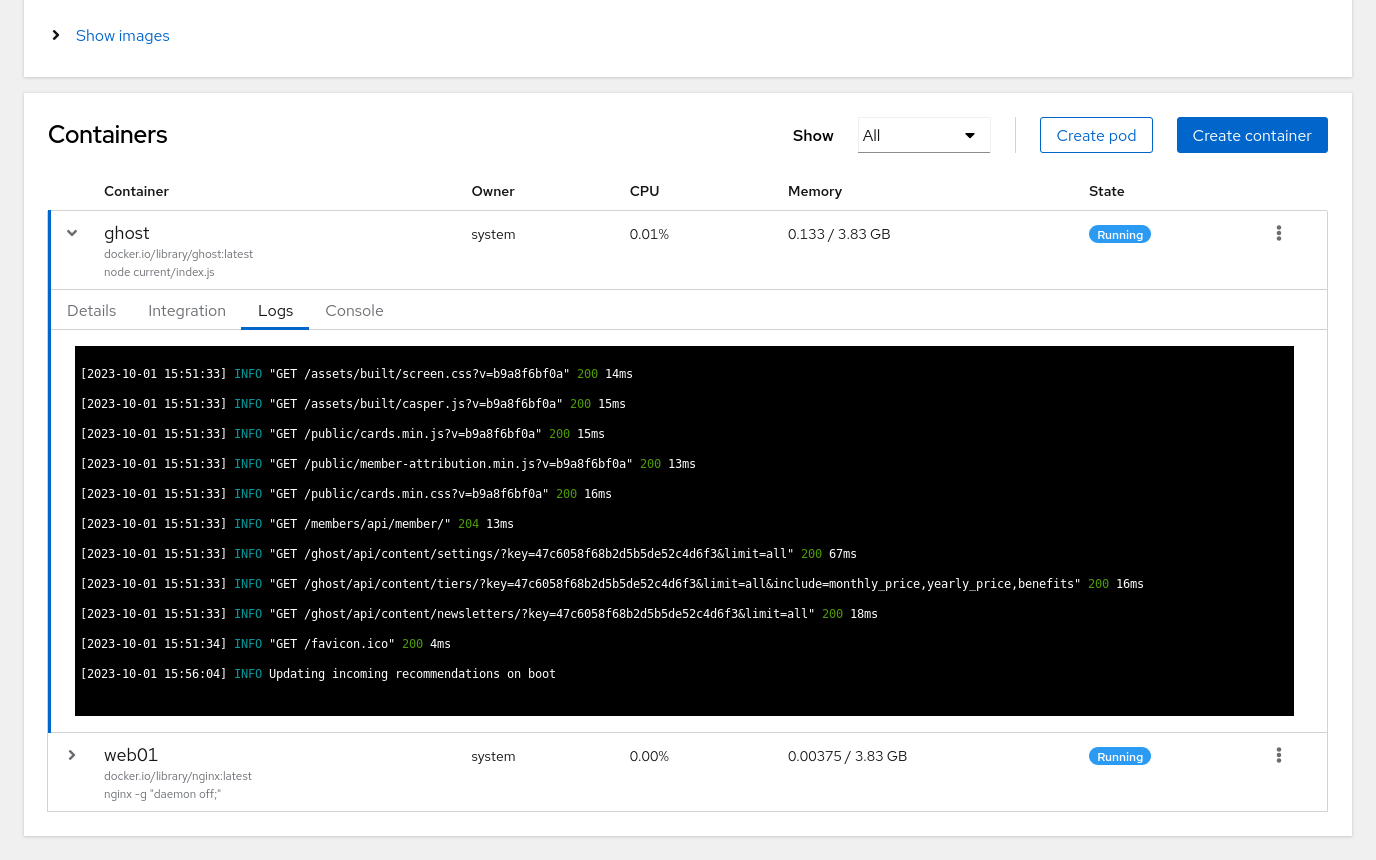
Now, you can review your Linux system and your deployed containers in the same UI and get a gist about errors, services and pending updates.
There is more!
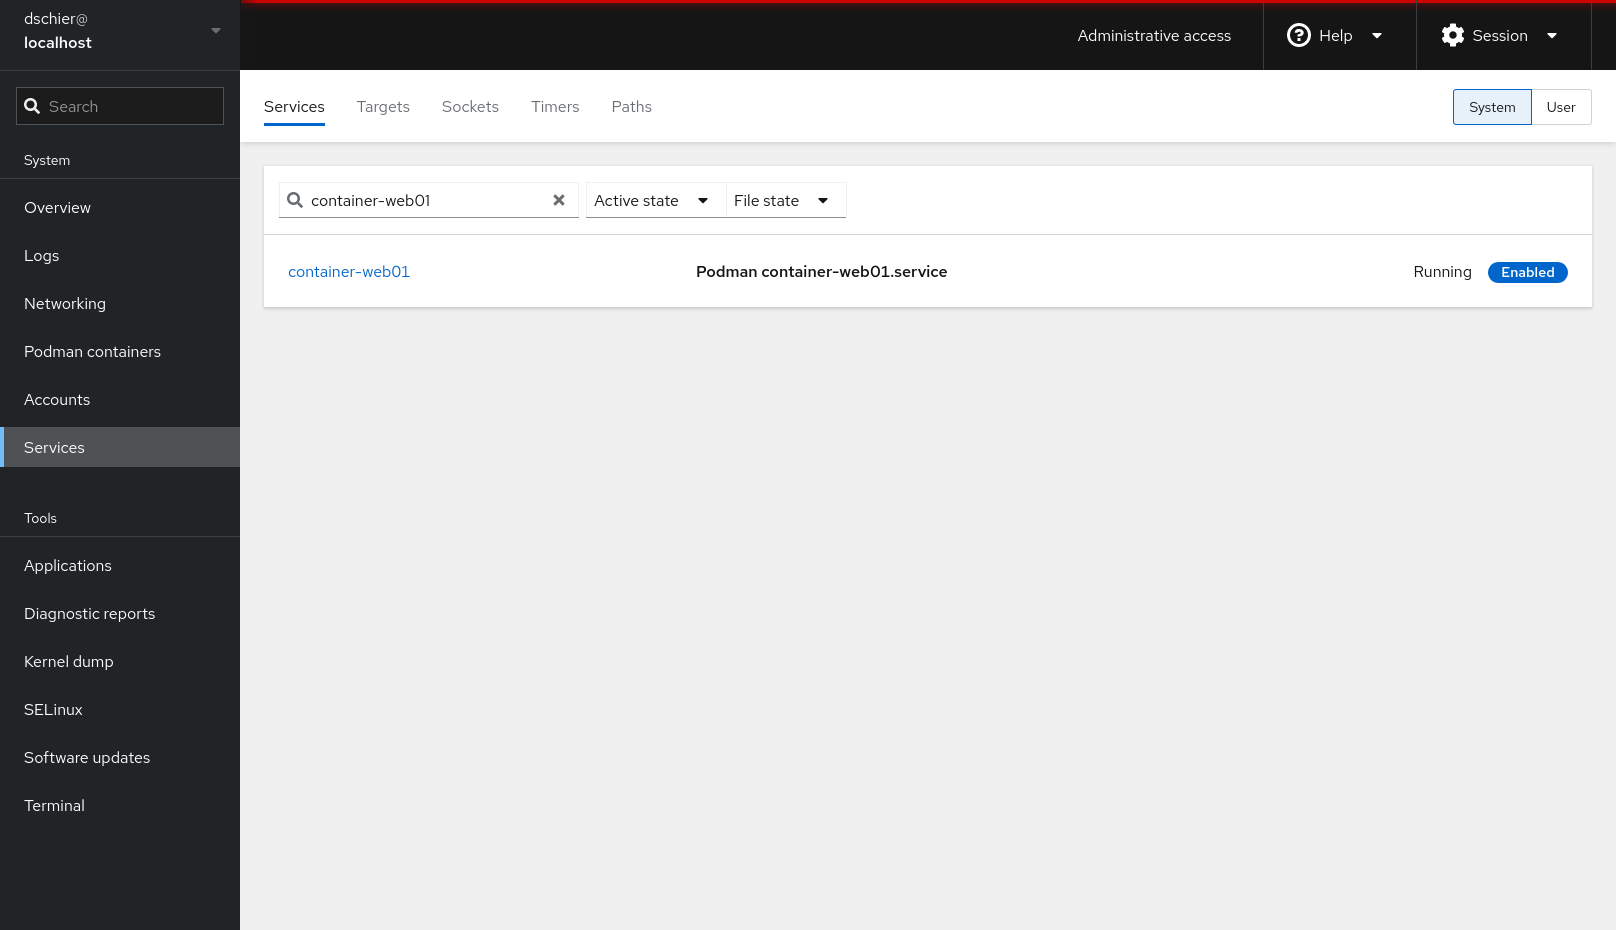
But wait, as I stated, Cockpit does not only execute commands, but represents the state of the underlying system. This means, spinning up containers and alike should be presented in Podman, even when done via the command line or automation like Ansible.
One common use case with Podman is, that you write a systemd service unit, put it on the host and start the service. Let's see how this can be done. By the way, I addressed this topic in way more details in the article "Podman - systemd container management".
Our service file will look like the below.
# container-web01.service
# autogenerated by Podman 4.4.1
# Sun Oct  1 16:01:24 UTC 2023

[Unit]
Description=Podman container-web01.service
Documentation=man:podman-generate-systemd(1)
Wants=network-online.target
After=network-online.target
RequiresMountsFor=%t/containers

[Service]
Environment=PODMAN_SYSTEMD_UNIT=%n
Restart=on-failure
TimeoutStopSec=70
ExecStart=/usr/bin/podman run \
        --cidfile=%t/%n.ctr-id \
        --cgroups=no-conmon \
        --rm \
        --sdnotify=conmon \
        --replace \
        -dt \
        --name web01 \
        -p 8081:80 docker.io/library/nginx:latest
ExecStop=/usr/bin/podman stop \
        --ignore -t 10 \
        --cidfile=%t/%n.ctr-id
ExecStopPost=/usr/bin/podman rm \
        -f \
        --ignore -t 10 \
        --cidfile=%t/%n.ctr-id
Type=notify
NotifyAccess=all

[Install]
WantedBy=default.target
/etc/systemd/system/container-web01.service
Just copy it on the host to /etc/systemd/system/container-web01.service. Next, you can start the new service file with just two commands.
# Load new service files
$ systemctl daemon-reload

# Start container-web01
$ systemctl enable --now container-web01.service
Cockpit will present the new container and the service.

Pretty neat, hm? What do you think?
Docs & Links
Below, you can find some additional links that might be helpful for your journey. I also added some articles from the blog.
 Author
 Daniel Schier
Conclusion
For me, Cockpit and Podman are a terrific pair for small environments. If you need to take care of just some machines and a couple containers, it might be useful and can be used in professional environments and hobby projects alike.
Think of home servers, SoHo machines, IoT, or the SMB "basement server", we all have seen occasionally. You get so much out of it for so little effort, I strongly recommend giving it a try.
If you have tried it or gathered some experience, I would love to know what you like and what you don't like. Does it work for you? If now, why not?


