Podman - Portainer
Portainer is an application, providing a web UI for management of Docker and Kubernetes. It is simple, yet powerful, and easy to use. But, what about Portainer on Podman? In this article, I will give a quick guide, how you can get it running and start your first containers.

Portainer is an application, providing a web UI for management of Docker and Kubernetes. It is simple, yet powerful, and easy to use. But, what about Portainer on Podman? In this article, I will give a quick guide, how you can get it running and start your first containers.
Portainer
For the sake of this article, I will focus on the open source Portainer Community Edition. The repository is available on GitHub and introduces itself as follows.
Portainer Community Edition is a lightweight service delivery platform for containerized applications that can be used to manage Docker, Swarm, Kubernetes and ACI environments. It is designed to be as simple to deploy as it is to use. The application allows you to manage all your orchestrator resources (containers, images, volumes, networks and more) through a ‘smart’ GUI and/or an extensive API.
In this article, I will focus on the "Portainer for Docker" part, but maybe address "Portainer for Kubernetes" another day.
Podman
Podman is a rootless and daemonless drop-in replacement for Docker. You can start and stop container, build and push images, and basically everything you can do with Docker.
There are some huge benefits, when it comes to Podman. It is a systemd native, which means you can control your containers with systemd services easily. It has various options to run containers as root or user. Not only that, but it also provides features that don't even exist in Docker, like auto-updates, running Pods and even Kubernetes deployments.
You can find a couple of articles in my blog, too.
Portainer on Podman
After this brief introduction of these tools, let's actually deploy Portainer on Podman and run our first containers.
Installation
Before spinning up our first containers, we should ensure that everything is properly installed.
Podman
I addressed the installation of Podman in the "Podman - Getting Started" article, already. But here is the gist.
$ sudo apt install podman     #For Debian 11+ or Ubuntu 20.10+
$ sudo dnf install podman     #For Fedora, CentOS, Alma, Rocky, RHEL
$ sudo pacman -S podman       #For Arch or Manjaro
$ sudo zypper install podman  #For OpenSUSE
Afterward, you will need the Podman API socket activated, so Portainer can talk to it later on.
# Start Podman socket
$ sudo systemctl enable --now podman.socket
Portainer (rootful)
Finally, we can take a look at Portainer. The below command should spin up a rootful Portainer. This will provide an experience very similar to Portainer on Docker, including usage of privileged ports (like 80 or 443).
# Start portainer (rootful)
$ sudo podman run \
  --detach \
  -p 9443:9443 \
  --privileged \
  --name portainer \
  --volume /run/podman/podman.sock:/var/run/docker.sock:Z \
  --volume portainer_data:/data:Z \
  docker.io/portainer/portainer-ce
The first boot-up of Portainer will take a second, so we can inspect the command a bit more closely. We need to run Portainer in privileged mode, so it can create networks, security contexts and alike. Also, we will mount /run/podman/podman.sock, so Portainer can talk to Podman. Lastly, we will also create a named volume portainer_data, which will be used to persist configuration data.
Oh, and if you don't have any idea about Podman volumes, you might want to check out the relevant articles.


So, let's check if this worked:
# Check container status
$ sudo podman container ls
Portainer (rootless)
Technically, you can use Portainer in rootless mode. This provides additional security measures, but also some limitations when it comes to deployments. There are ways to mitigate these, but this might be a complete article about rootful and rootless differences in Podman. For now, let's assume we can live with these limits.
Rootless Podman uses rootless API ports. Therefor, we need to start this service, first.
# Start rootless podman socket
$ systemctl --user enable --now podman.socket
There is an issue, though. Normally, systemd does not care about user services until the user is logged in. To enable "lingering", we need to run one more command.
# enable start of system services, even if not logged in
$ sudo loginctl enable-linger $USER
Starting Portainer works similar to the rootful deployment, though. There are some differences, you need to take care of.
# Start portainer rootless
$ podman run \
  --detach \
  -p 9444:9443 \
  --name portainer \
  --security-opt label=disable \
  --volume /run/user/$(id -u)/podman/podman.sock:/var/run/docker.sock:Z \
  --volume portainer_data:/data:Z \
  docker.io/portainer/portainer-ce
Starting the first deployments
Now that Portainer is running, we can open our browser and point to the address https://IP_ADDRESS:9443. This will open the initialization wizard.

Set a proper password for the admin user, and you should land on the next page.

Using the option "Get Started" will bring you to the next screen. You will end up in a panel where we can choose which Environment, you want to use. This and the last option hopefully showcase, that you can connect more than one Docker/Podman to Portainer.

Hit the blue "Live Connect" button to finally connect to your local Podman deployment. You will end up in an overview for the host.

There is one more configuration we need to make before creating actual containers. We need to create a network for our future containers. The reasoning is somewhat trivial, Podman has a default network, that does not support DNS and is not addressable from Portainer.
In general, it is a good idea to create a new network per application stack. Anyway, let's create this network. Hit on "Networks" on the left side.

Create a new network, and name it however you like. I am choosing "test" for now.

After hitting "Create the network", we can finally create our first container. So, let's check out the "Containers" menu.

After clicking on "Add container", you will end in a screen where I filled in some mandatory fields.

- Name:
nginx-test - Image:
library/nginx - Network ports configuration: publish 80 to 80 (8080 to 80 on rootless)
- Advanced container settings: Network tab -> the network from our previous step
And after hitting "Deploy the container", we will be greeted with:

This screen indicates that our test container is running as desired. Since we published port 80, we should be able to open our browser and point to the address http://IP_ADDRESS and see:

Yup, that's it already. 😃 You have done it and deployed your first container with Portainer on Podman.
Additional considerations
For now, Portainer runs only in "test mode", meaning, it does not come back up when rebooting the host. This can be fixed in three ways. You can facilitate Podmans excellent System support:

Or, you might want to give Podman Quadlets a try:

And finally, there is even a podman-restart.service service, which allows restart behavior similar to Docker. From my perspective, this is the worst idea, but works.
Alternatives
Now that you know Portainer, you might be interested in alternatives, that can do similar things, maybe even more or without running something on your Podman host. In the past, I published an article on the de facto standard web UI for Podman, Cockpit.

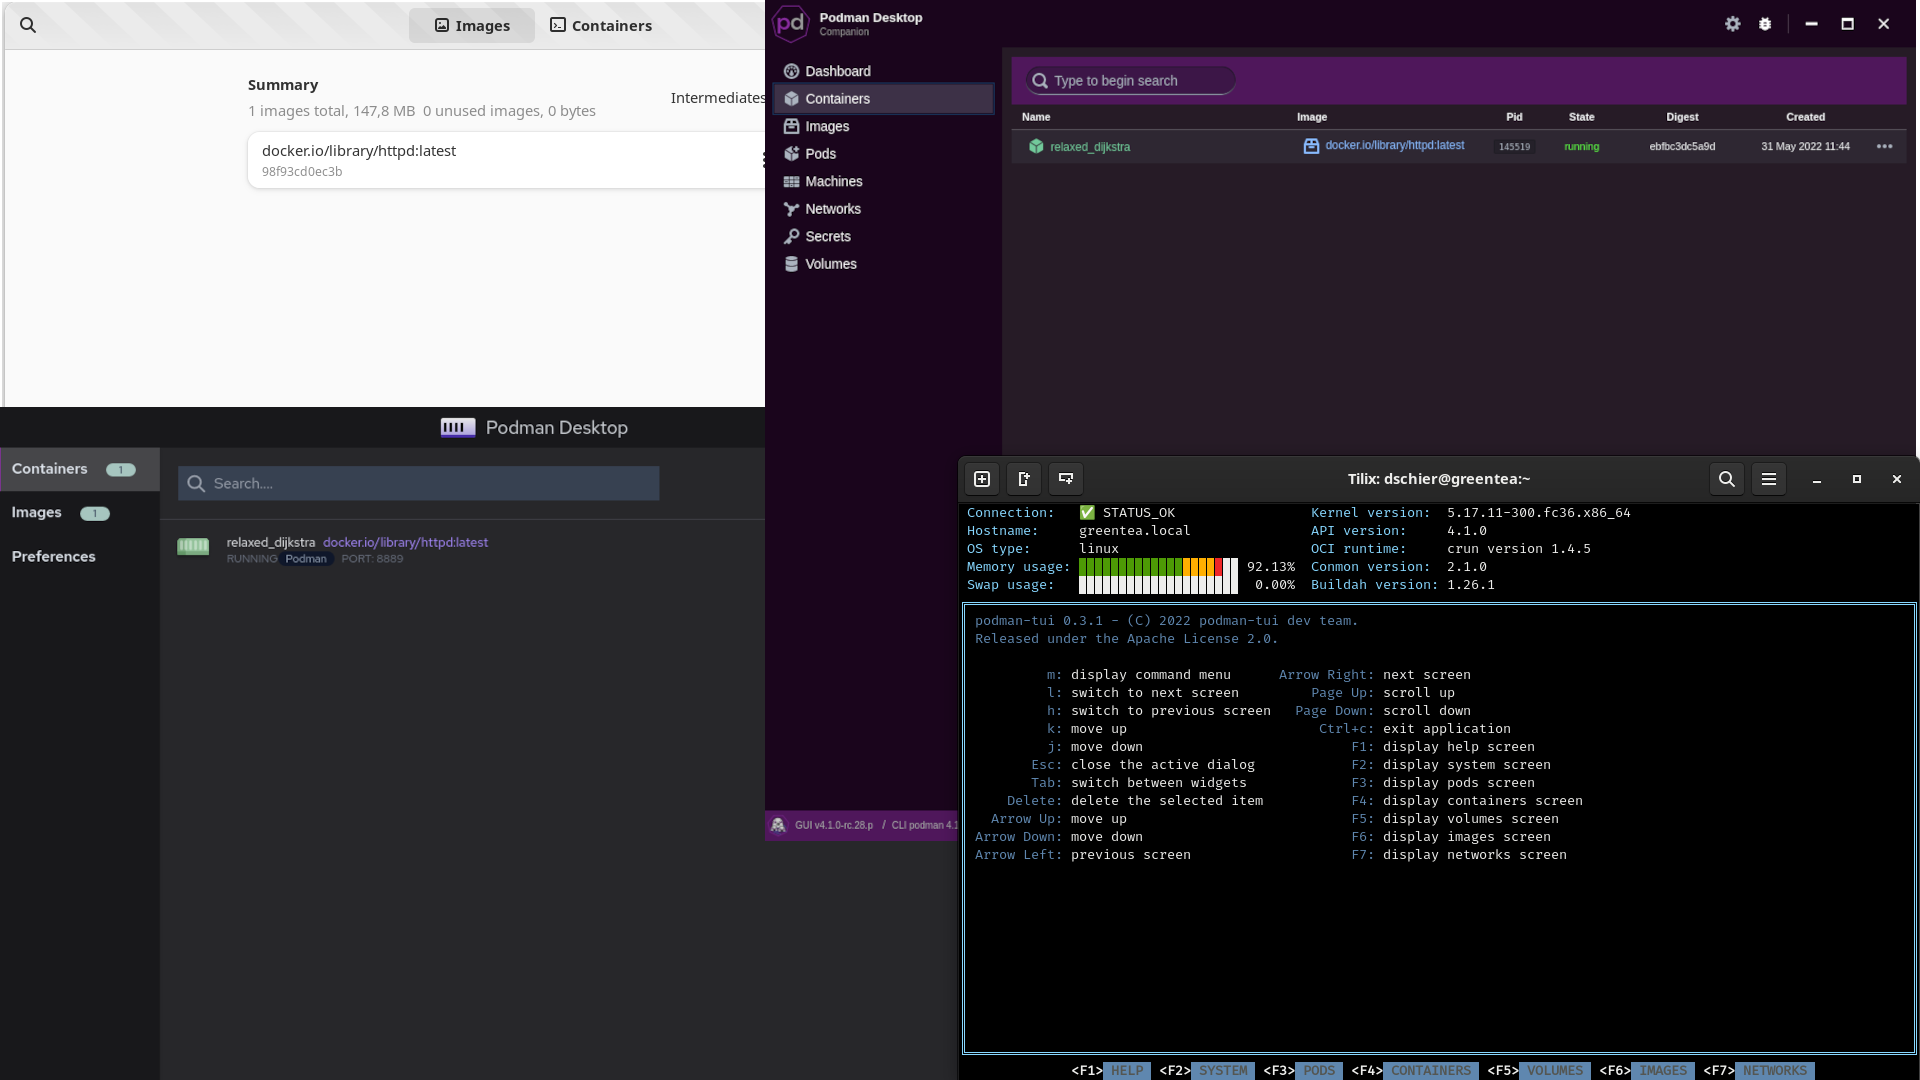
Also, there are some cool desktop applications for Podman management.

Docs & Links
Finally, some links that might be relevant for further work.


Conclusion
Well, well, here we are. The end of another article. This time, I would love to know if you prefer Portainer or some other UI. Which one do you use? Which one am I missing? Possibly you even have something up your sleeves I never heard of?


