Fedora - Home Server (Hardware & OS)
In a previous article, I started the home server series to explain how you can build your own (Fedora based) home and lab environment. This article will shed some light on the hardware and the basic operating system.


In a previous article, I started the home server series to explain how you can build your own (Fedora based) home and lab environment. This article will shed some light on the hardware and the basic operating system.
Intro
The series will explain what we will do and how we are doing it. We will start with the basics and end up with a usable home & lab environment. The below list will be updated and linked, so you can follow along.
- Intro & Concept
- Hardware & OS
- Automation
- Management
- Virtualization
- Container
- Time, DHCP, DNS Server
- Git Server
- File, Calendar, Contact Sync
- Application Dashboard
Afterwards, you will be able to deploy more services that might be helpful for you. You can also adapt some other articles, that I will publish in parallel and afterwards or that are already published.
It's just a lab and home server environment, that can be used however you want. ;)
Hardware
Let's talk about Hardware. Very often you can read, that you need something special. RAID, ECC RAM and whatnot are considered in the more enthusiastic self-hosting area. But, quite the opposite is true.
Requirements
To start with a small Home Server / Lab, you don't need something special. Do you have a Laptop lying around or an old Desktop PC? It may be sufficient to get started. For some simple Virtual Machines, you may need something like the below.
Minimum Specs (VM)
- CPU: 4 Cores x86_64 (Intel or AMD)
- RAM: 8 GB
- Disk: a single 250 GB disk is fine
- Network: 1 x 1 Gb LAN is sufficient
That won't be a beast, for sure. But you will be able to spin up some (~3-6) Linux VMs for testing and playing around. You need to ensure that the CPU supports Virtualization (VT-x or AMD-v), though. For containers only, it is even less.
Minimum Specs (Container only)
- CPU: 4 Cores aarch64/x86_64
- RAM: 4 GB
- Disk: 32 GB
- Network: 1 x 1 Gb LAN is sufficient
As you can see, both are not too challenging. For this article, I will focus on the x86_64 (Intel or AMD) part. If you plan to start with Containers on a small SoC (like the Raspberry Pi), I recommend checking out the article "Fedora - Raspberry Pi Setup". You may also want to have a look at "Spotlight - Fedora IOT", since it has container tools already built-in and is designed to be used on small SoCs.
Recommendations
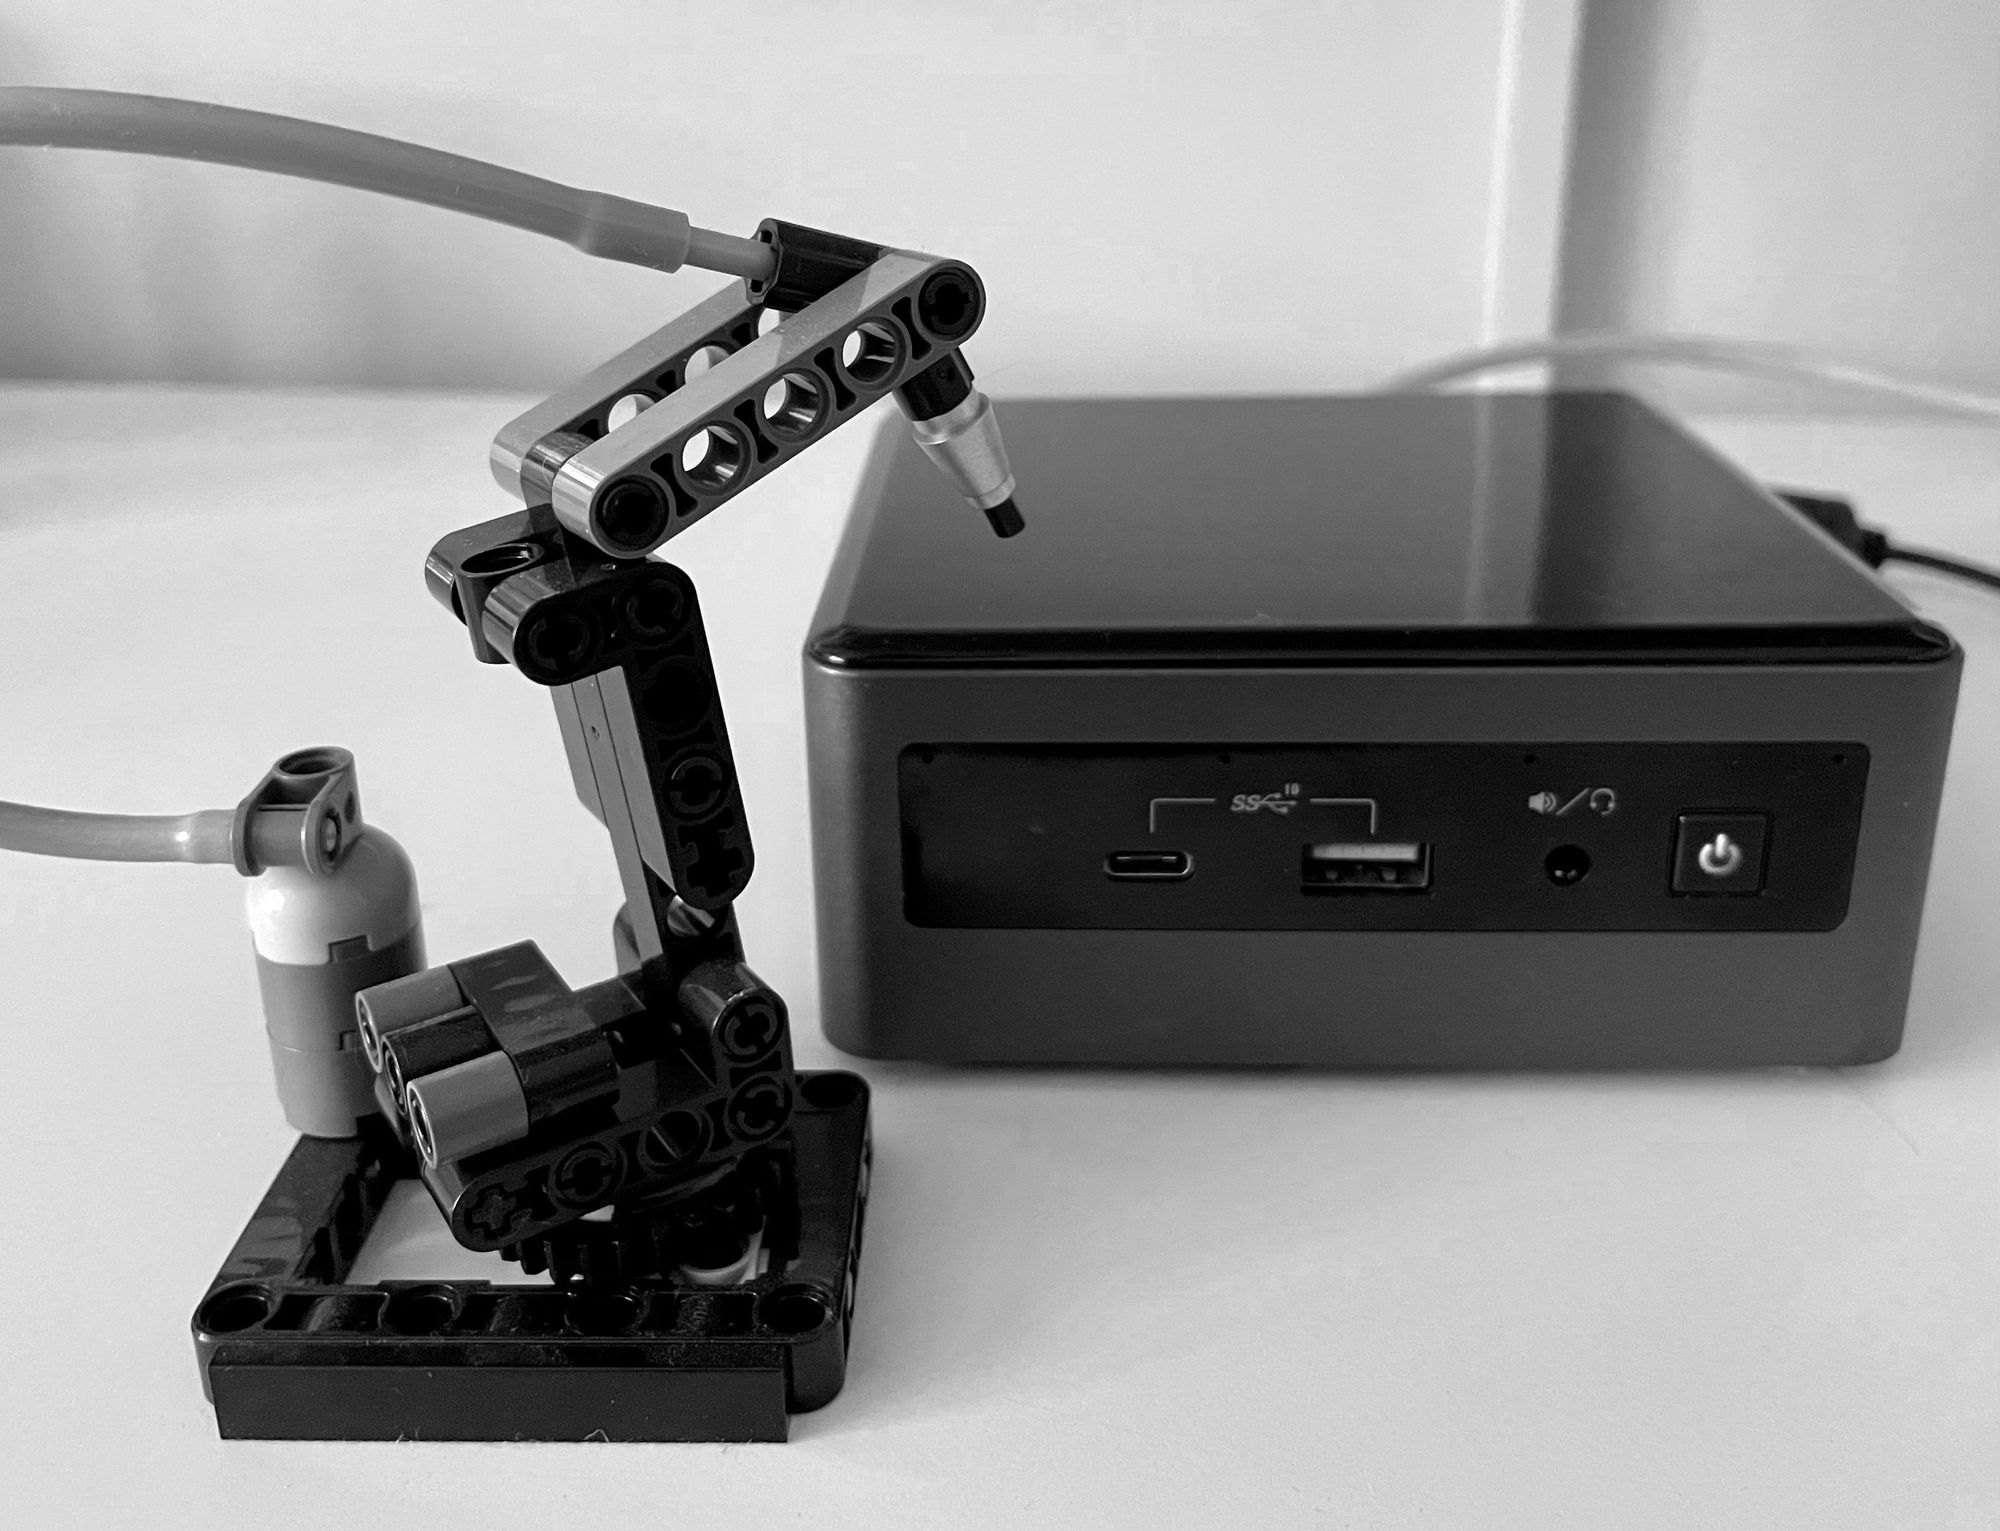
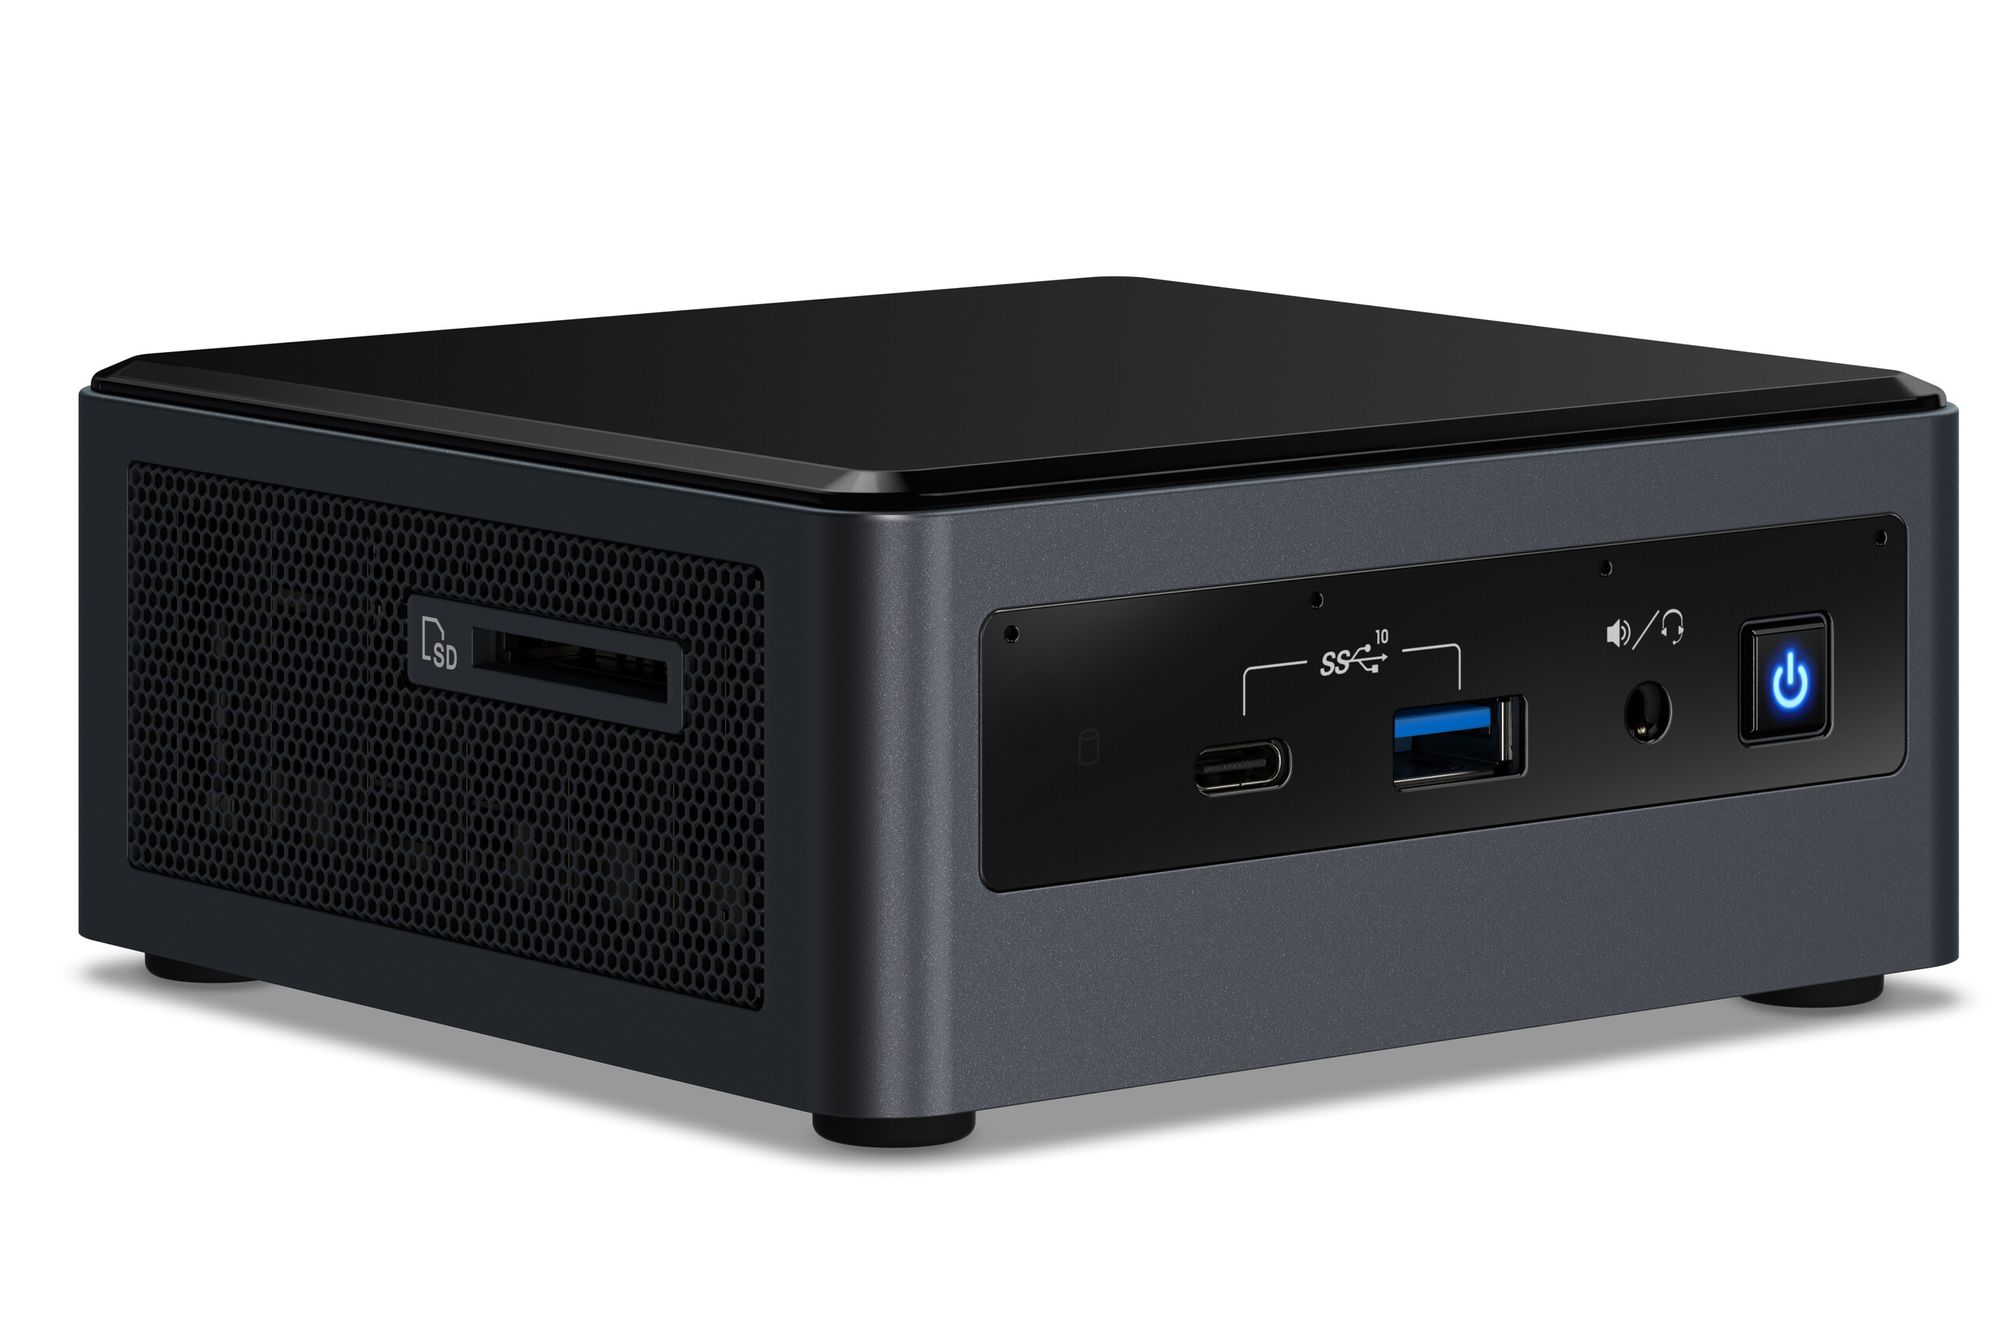
For a pretty usable and viable setup, you also don't need to consider large setups. I am using a pretty standard Intel NUC (10th gen) with the below recommended specs.
Recommended Specs (my Setup)
- CPU: Intel Core i5 10210U (4 Cores @ 1.60 GHz)
- RAM: 16 GB
- Disk: 1 x 256 GB SSD (OS) + 1 x 2 TB HDD (data)
- Network: 1 x 1 Gb LAN
This machine is quite sufficient for basically everything I am throwing at it. Running Nextcloud, Gitea or a couple VMs, including a Kubernetes node, is working fine.
About RAID, Redundancy and Backup
You may ask: "What about RAID?" or "What about Redundant Network?". I am quite the minimalist here and don't want to make things complicated.
RAID
RAID is a technology to bundle disks in different ways. This can be done to improve speed or redundancy. Both are nothing I am considering worthy of a small home lab. In case you delete data accidentally, it will be gone. If the data is corrupted by a virus or misbehaving software, it's gone. If your CPU, Memory or Mainboard has an issue... similar. RAID does not help here. Instead, it will only help, if a disk is having a hardware issue.
Therefore, I always recommend Backups over RAID. Having a daily backup on hand helps with data corruption, viruses, hardware failures and much more.
In case you want to go with RAID anyway (since you need huuuuuge data storage), please consider using a proper RAID controller and also buy a second one, if the first one is failing. Software RAID (md or LVM RAID) may be an option, but only if you know what you are doing.
Maybe I will address RAID setups in a dedicated article.
Network
For the redundant network, it is basically the same. It is very unlikely that a LAN port will fail, but everything else in your home still works. Have you considered, that your router is connected with a single cable, and you don't have a switch that supports failover connections? What about power delivery?
Network Redundancy is something, if you want to ensure that your server is having a very high uptime, without being interrupted by Switch restarts, Hardware replacements or power delivery failures on redundant power delivery. It is not something I consider for a home setup, not even for the speed, since most routers do not support high bandwidth anyway.
It is better to invest in a 2.5 Gbit or 10 Gbit network connection to your router than in redundancy.
Backup
This is the one thing, I cannot embrace enough. You need to back up your data. You want to back up your data. Not only that, but you want to test your backups, and you want to test restoring them.
Instead of investing in RAID or hardware redundancy in general, buy a second disk - an external one - and do backups. Do them daily, on change, before upgrades and do them properly for your important data.
There are a couple of options to start with simple Backups of your Notebook, Desktop PC or Server. I will write dedicated articles about this topic in parallel to the Home Server series.
In case you want to look something up already, I recommend checking out:
- Deja Dup - graphical client for Desktops and Laptops
- duplicity - cli client for Servers, Desktops and Laptops
- rsync - a command line tool to sync data
- relax-and-recover (rear) - a more sophisticated software to do backups
"But Daniel, what about Snapshots?" you may wonder. Snapshots will be done on the same disk. You can consider a snapshot as a fallback before upgrading your system, but very often this can lead to unexpected behavior when rolling back, since data migration is not considered.
I will address snapshots (for LVM, VMs and BTRFS) in a future article in some more details.
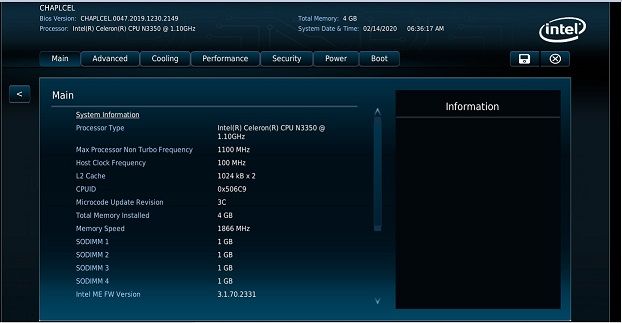
BIOS/UEFI configuration
Now that the hardware and backup considerations are out of the way, you may want to know some first steps. After buying or recycling a machine that suites your demand, you need to dig into the Mainboard settings, first. This is typically referred to as UEFI or BIOS settings, sometimes machine settings.
In any case, it is vendor specific. In almost all cases, you need to hit a specific key in the POST boot screen. So, power on your device and immediately hit the proper key as shown on the screen or documented by your vendor. In most cases, it is something like ESC or one of F2 - F12. If this worked, you need to work your way through the (also vendor specific) menus and find some configuration parameters as described below.
Virtualization
This option can be found in the CPU settings, advanced settings or a virtualization menu. In any case, you need to enable options that indicate that hardware virtualization will be turned on. Sometimes, this is also named VT-x, VT-d or AMD-v.
Disk Settings
Some vendors are configuring the disk in a so-called RAID mode. This can lead to issues with Linux. In case you can find an option to adjust the disk controller, set it to AHCI or SATA, but please avoid IDE or RAID.
UEFI Boot
If your Mainboard supports UEFI-only boot (most modern devices do), please enable it. This avoids some detection issues in Linux, since hybrid boot can be an issue. In case, you only have the option between hybrid and legacy/BIOS, please use the BIOS-only option. Hybrid is just plain bad.
Secure Boot
Fedora (and basically all RHEL derivates) support Secure Boot out of the box. Therefore, you should ensure to enable it. This is only possible, if you can UEFI boot. BIOS does not know Secure Boot.
Devices and Power settings
Since we want to use the machine as a home server, I recommend turning off devices, that you don't need. Wi-Fi, Smart Card readers, Fingerprint Readers or Audio are not needed and can be turned off safely. In case you can find the memory allocation for your GPU, reduce it to the minimum. We don't need graphics performance.
In the Power settings, you may also find profiles that indicate either an OS controlled or balanced mode. Both are preferred from me. You may also see a "performance" mode, which may be ok, but also heat up the machine quite quickly and make some more noise.
In case you can find settings for "after power failure" or "disable standby", you should check these out and adjust to your liking. In my case, these are set to "last known state after failure" and "standby disabled".
Operating System
Hardware is there, BIOS/UEFI is considered? Backup disk is ordered? Cool, now we can come to the very first fun part. Let's install an operating system. This may be slightly different for your setup, but I want to guide you through the most important steps.
Installation
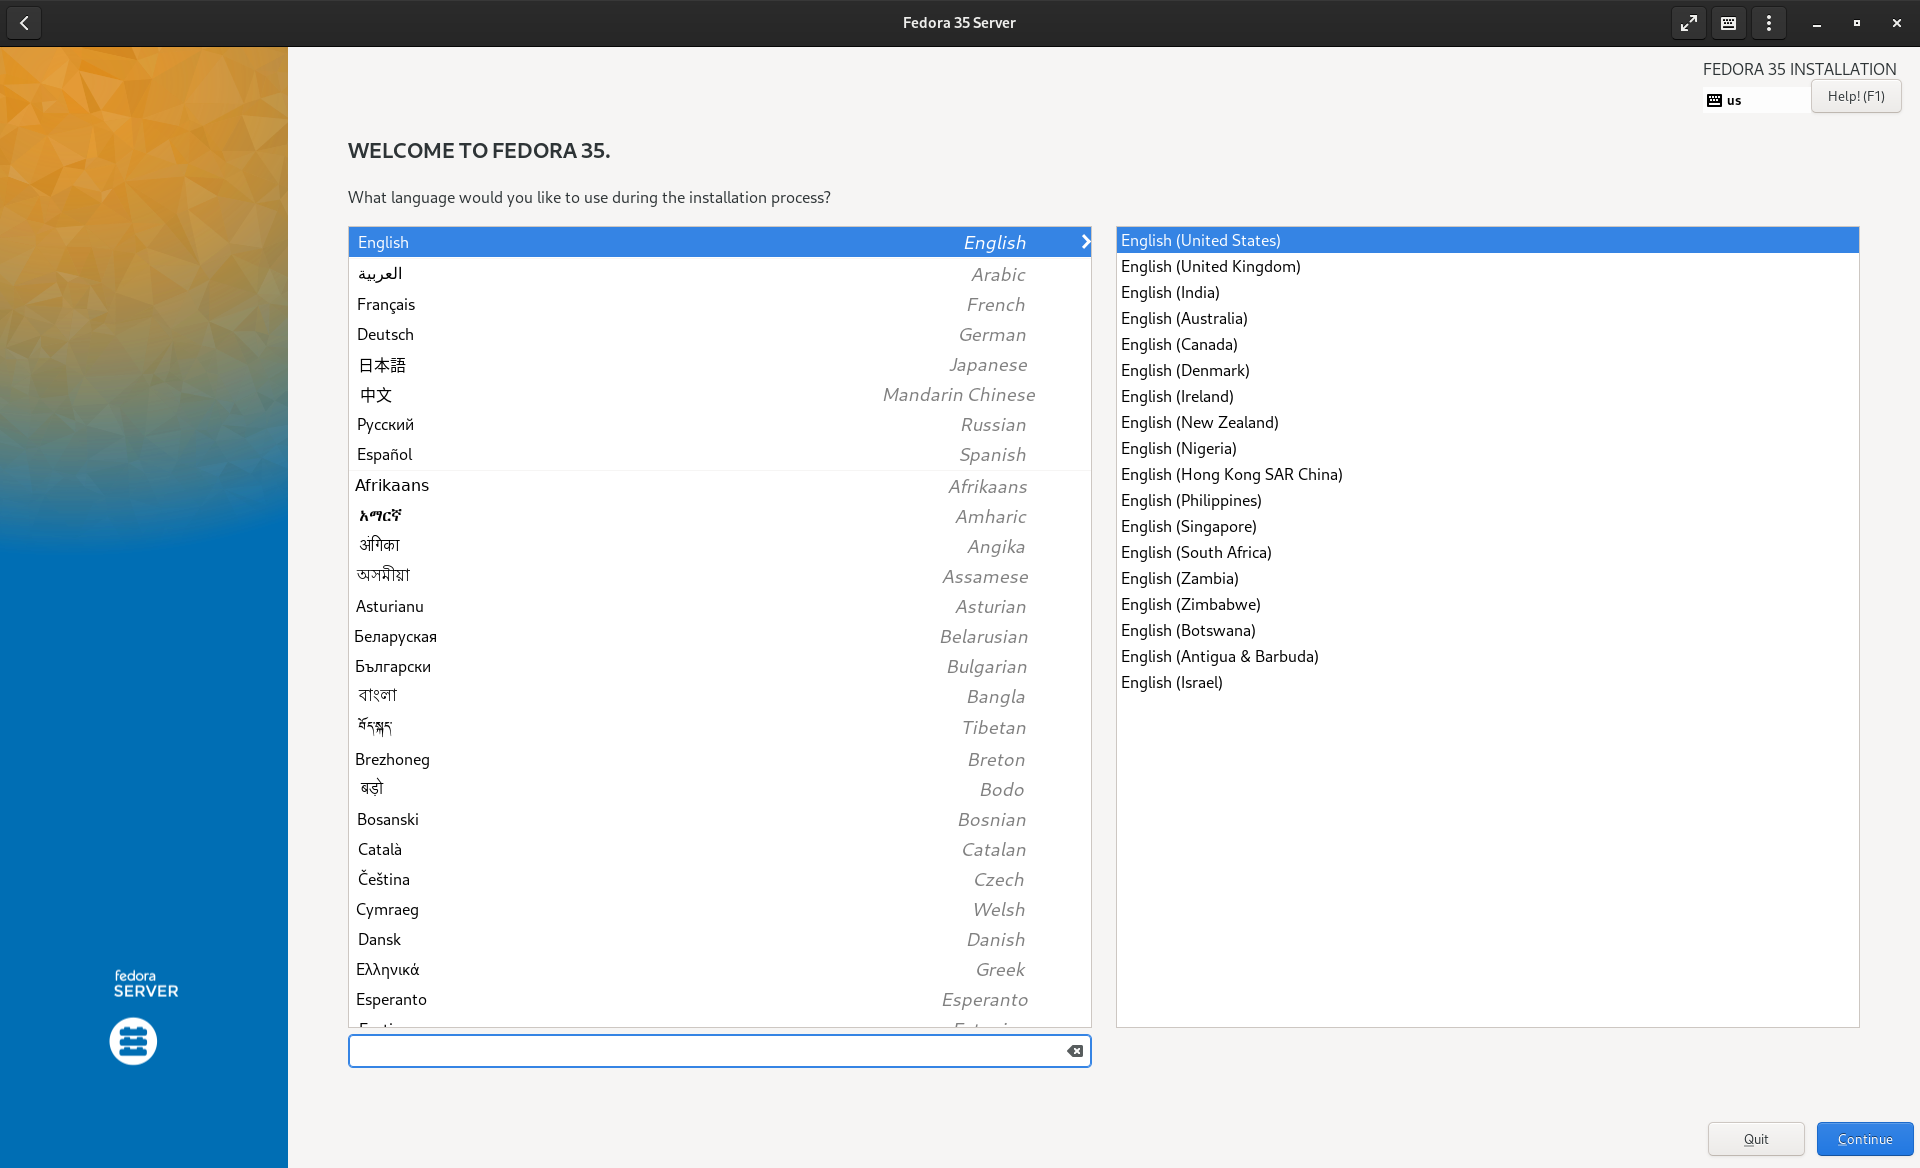
The installation of Fedora Server is very simple, but we want to adjust some steps, here and there.
Preparations
First, you need to download the Fedora Server Netinstall ISO image for x86_64 from the download page. Afterwards, you need to put it on a USB-Stick as described in this wiki page. And finally boot from the stick.
You can find a more exhaustive description of this procedure in the "Spotlight - Fedora Server" article. Nevertheless, we want to adjust some things.
Setup
As soon as the graphical installer opens, you need to choose a language. I strongly recommend to choose english here. This makes it easier to read manuals, search for error messages and avoid translation issues.

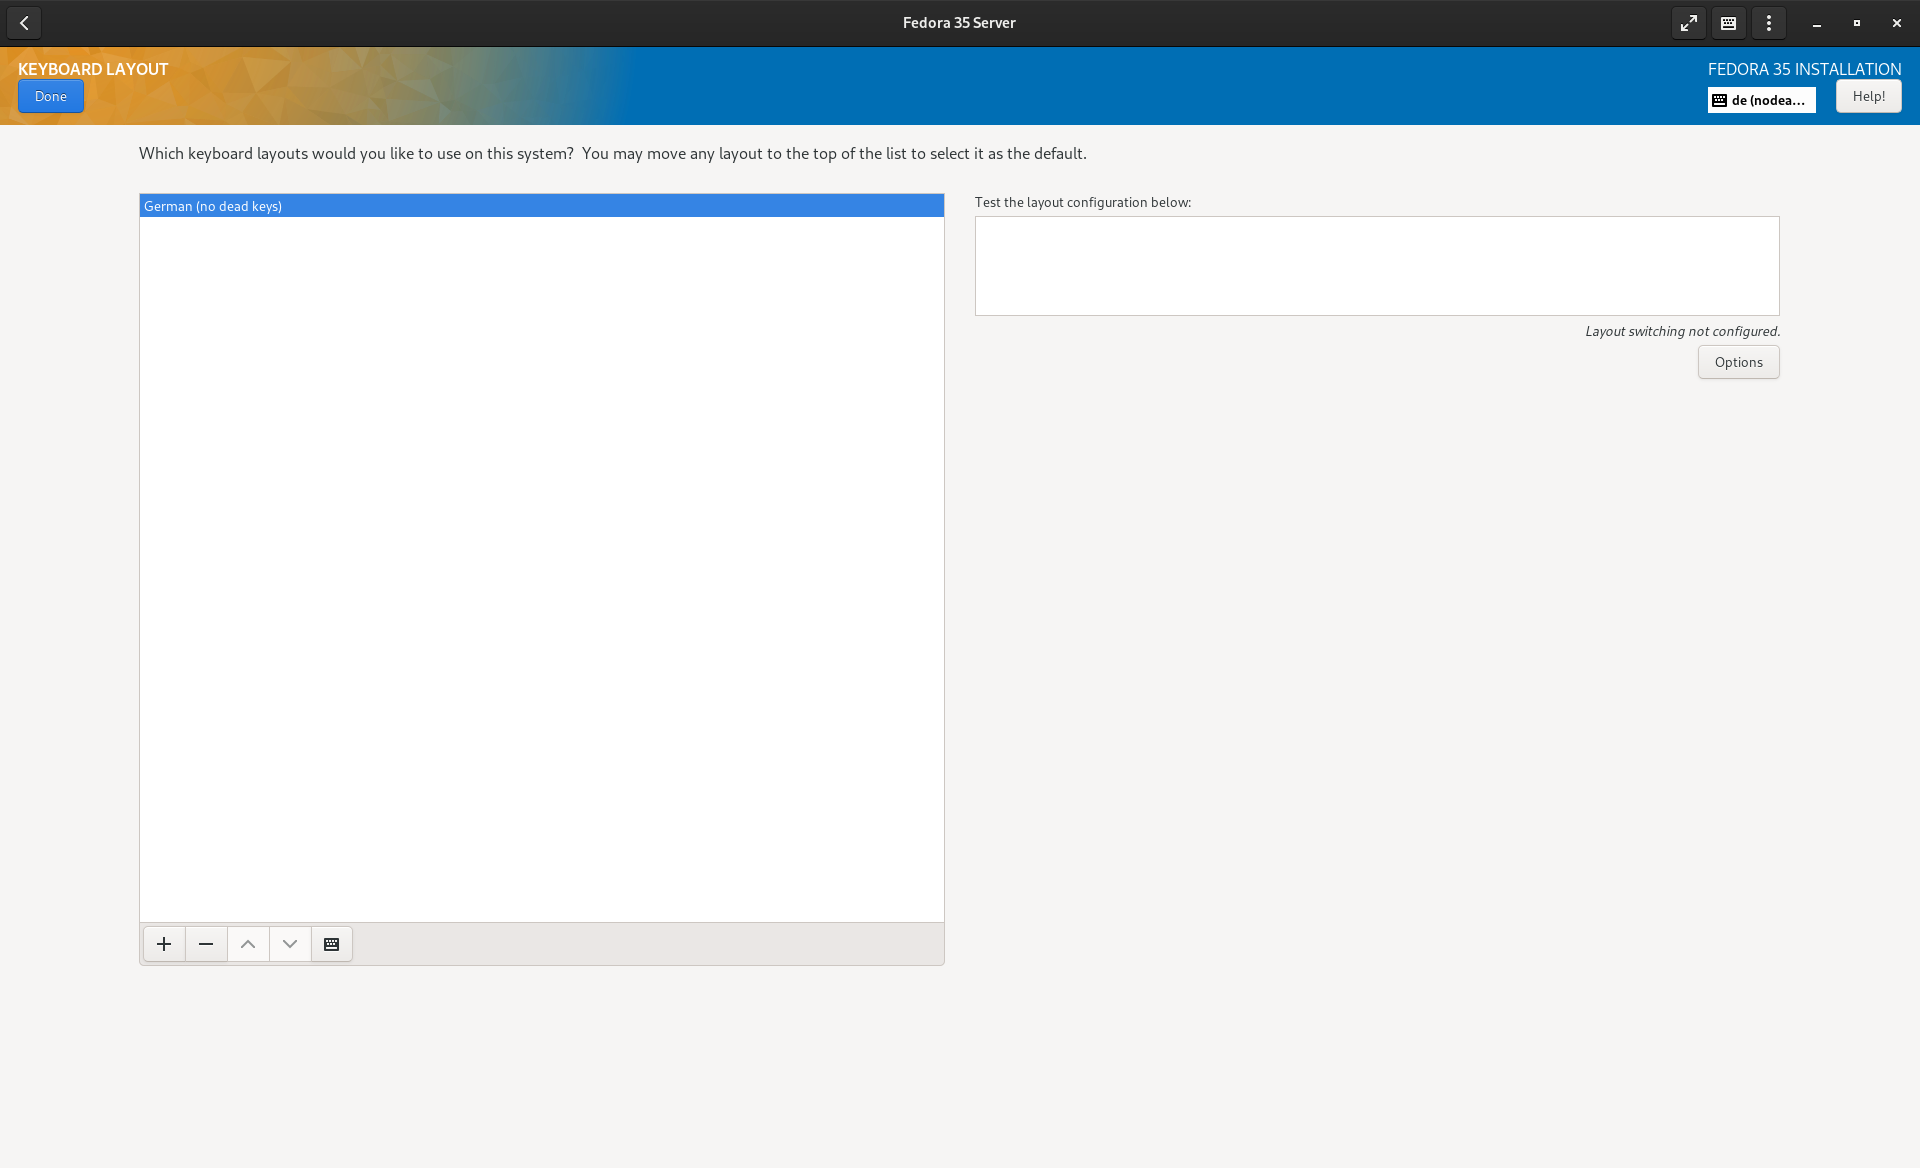
If your keyboard has a different layout, you should adjust this next.
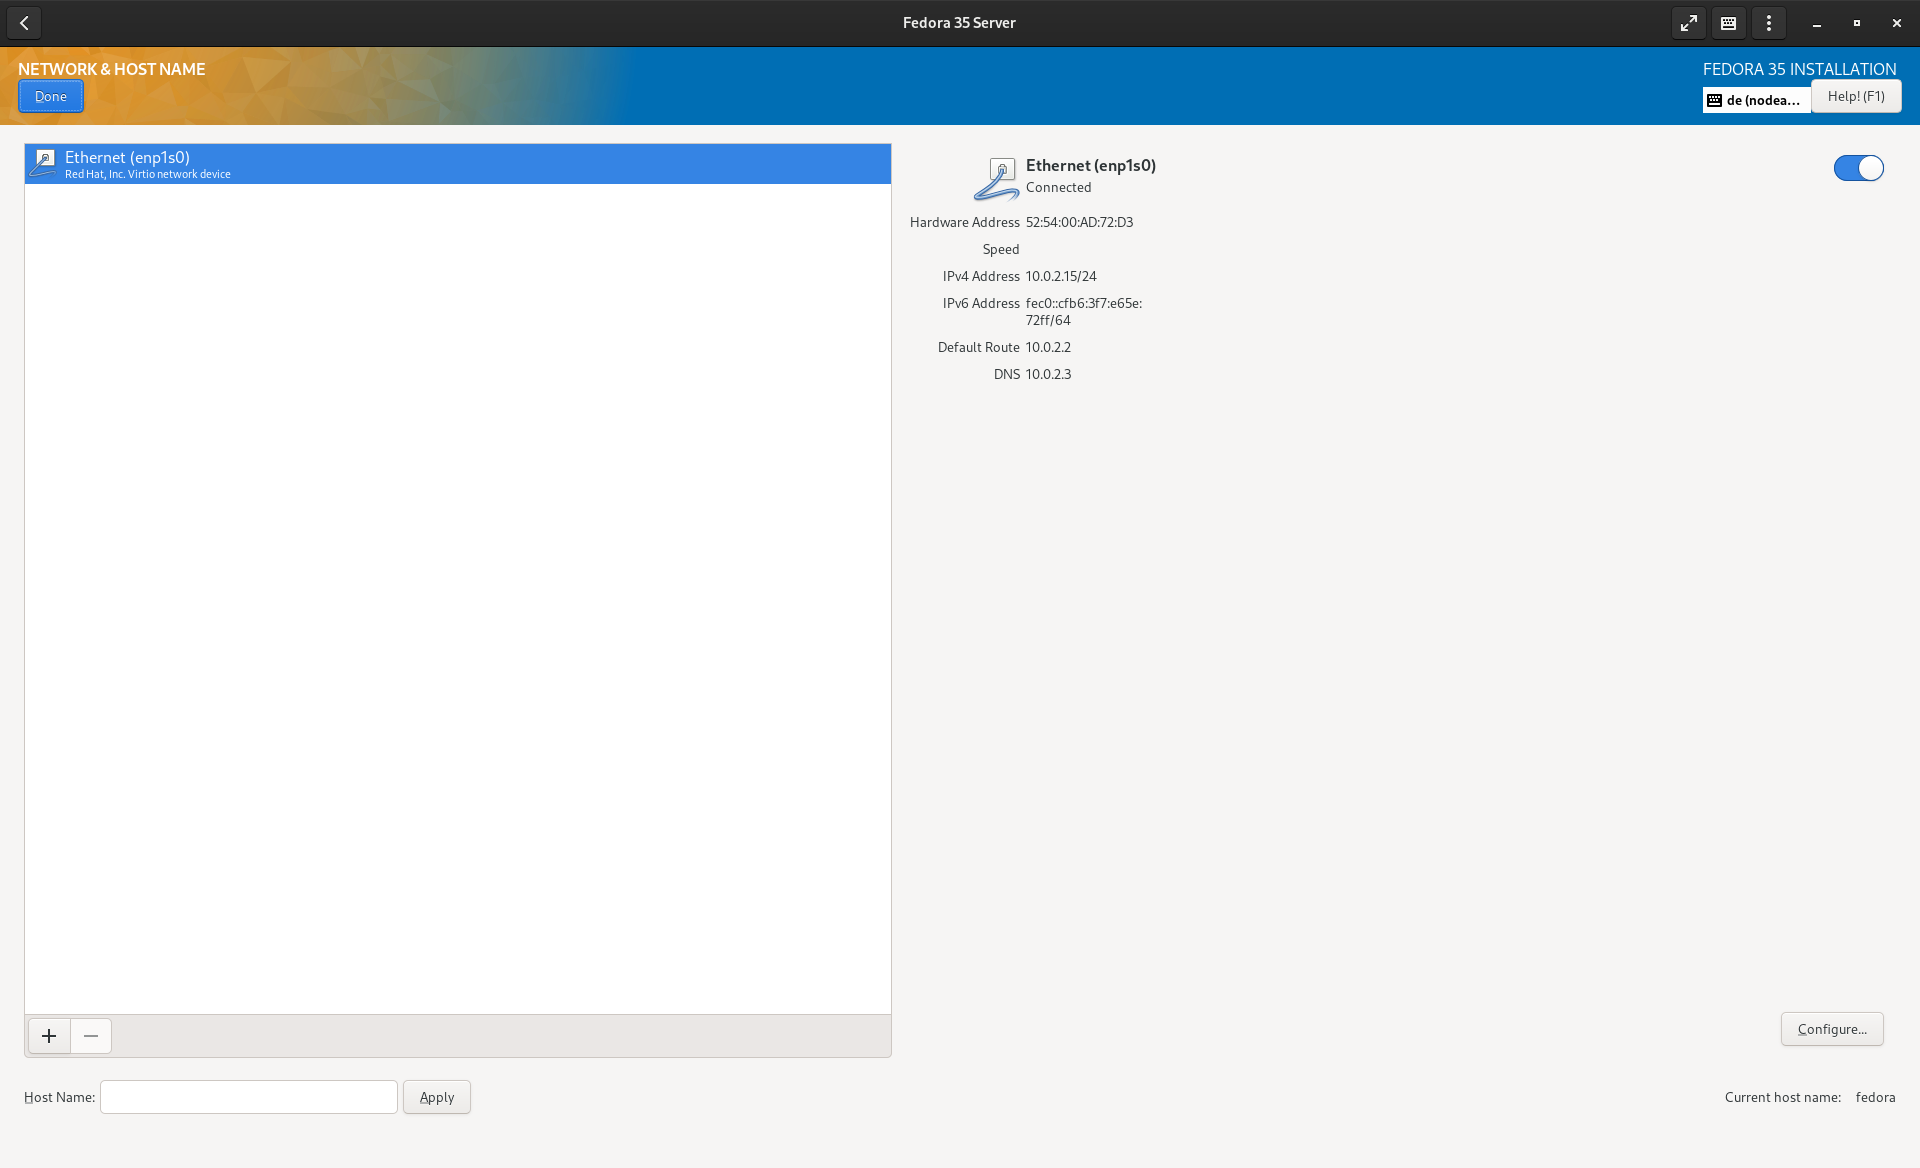
Afterwards, you should check and enable the network.
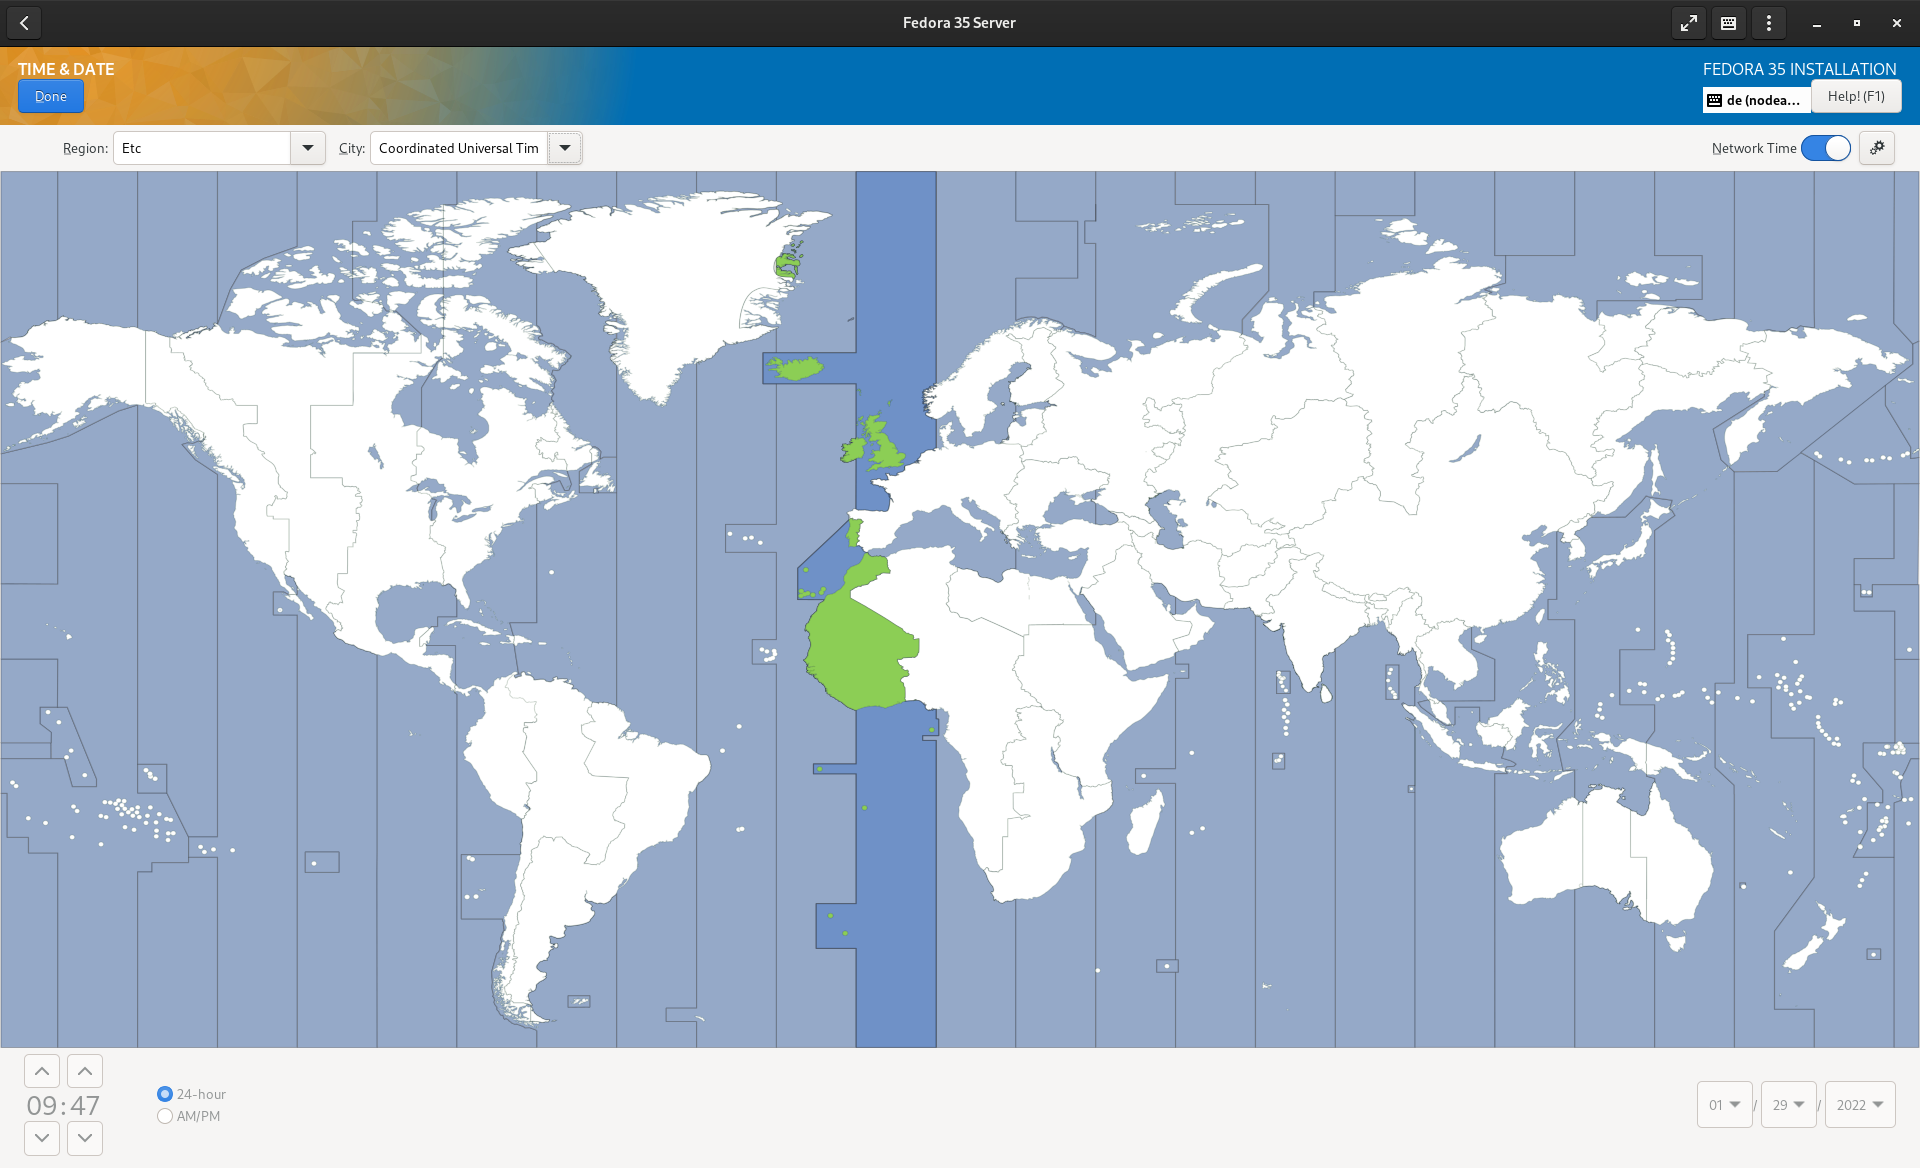
The next step - adjust your timezone. I recommend to use Etc/UTC for servers in general. Nobody wants to take care of dailight saving times and logs in weird orders.
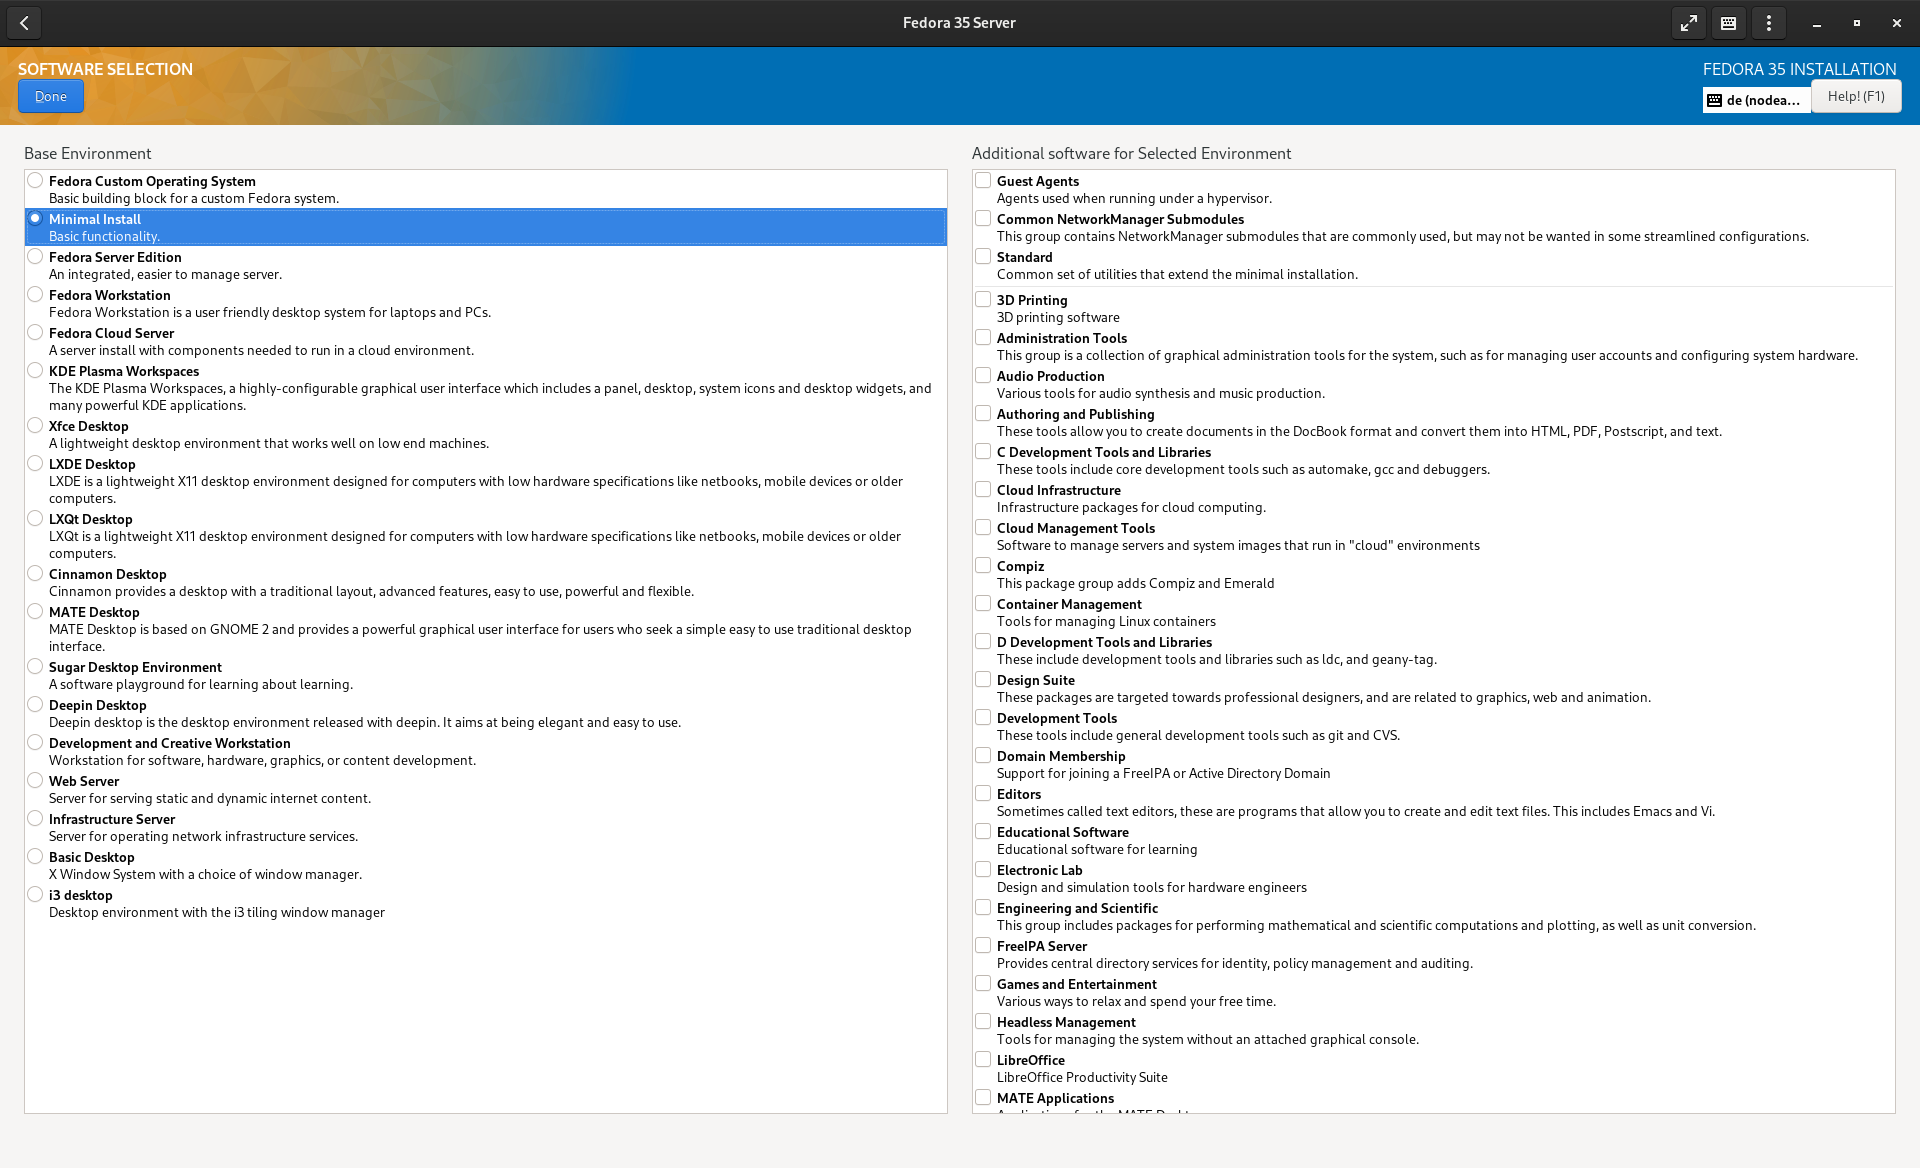
The next big step is the choice of packages. I am opting for "minimal" here. This installs less packages and we want to automate the other things anyway.
Creating a user is also a good idea. Please don't create a root password, but only a user with administrative privilges. This makes it harder for malicious software or individuals to log in to the machine.
The last part is the partitioning. This is something, you need to adapt to your needs and knowledge.
Single Disk + new to Linux: In case, you only have a single disk and you don't know anything about partitioning, please choose the disk and keep "automatic" selected.
Single Disk + customized: In case you want to customize the settings, but on a single disk, I recommend to set your partitions this way:
- use LVM + XFS
- 1024 MB for /boot
- 1024 MB for /boot/efi
- 50 GB for /
- 5 GB for /var
- at least 100 GB for /var/lib/libvirt (for VMs)
- at least 50 GB for /var/lib/containers (for containers)
Two Disks: Prepare/checkmark the OS disk only, we will come back to the second disk when it is needed.
- use LVM + XFS
- rename the Volume Group to vg_system
- 1024 MB for /boot
- 1024 MB for /boot/efi
- 50 GB for /
- 5 GB for /var
There are even more sophisticated partition schemes, but at least for a simple home/lab server that is intended to learn new things, this should be ok.
Lastly, hit "Begin Installation" and wait until you can hit "Reboot".
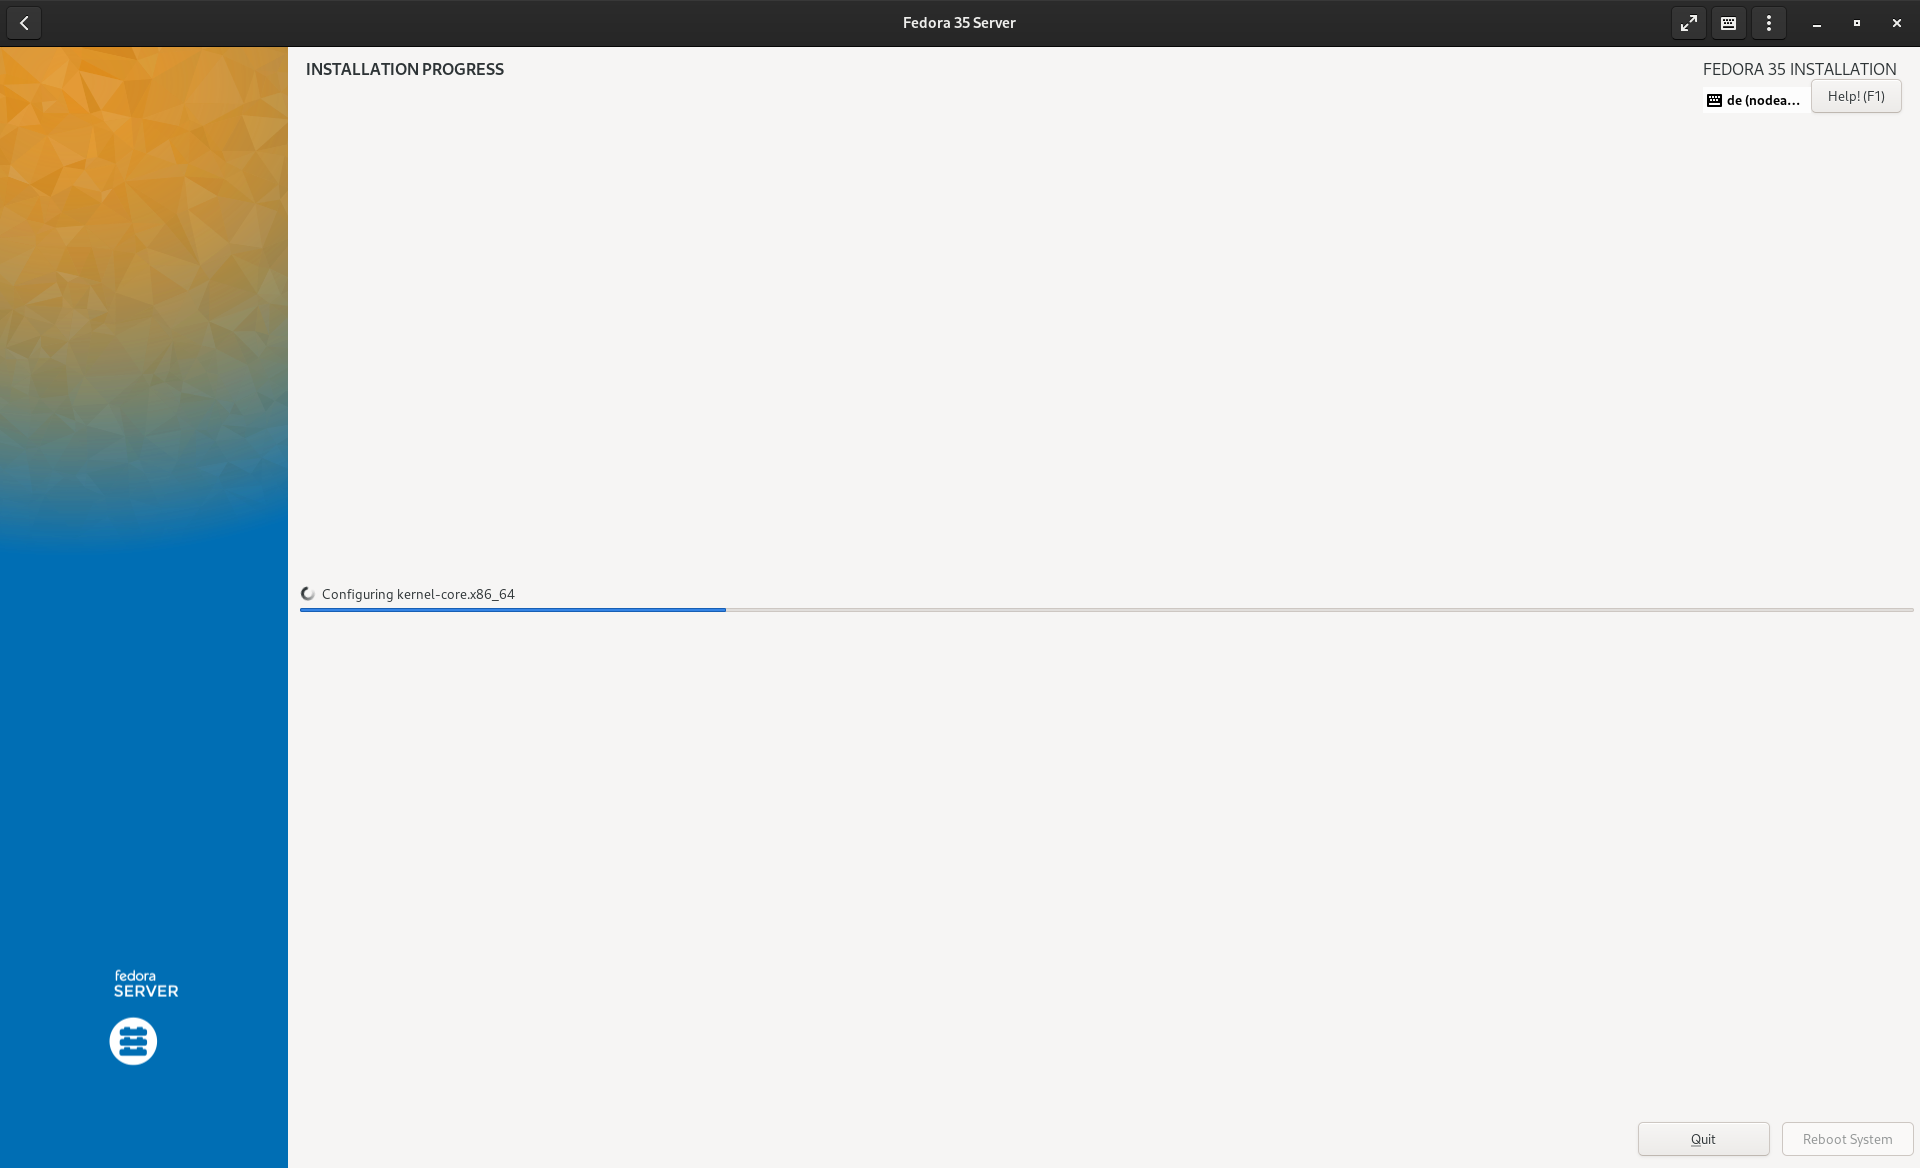
This will take around 2-5 minutes and depends on your download speed, transfer speed of the USB thumb drive and the overall resources of the machine. So grab a tea or coffee, stretch a bit and you can continue with the next section.
First Login and Update
The machine is rebooted and you can log in? Awesome. Just log in and check if some updates are there (there should be none).
# Update system
$ sudo dnf update

# Reboot if needed
$ sudo reboot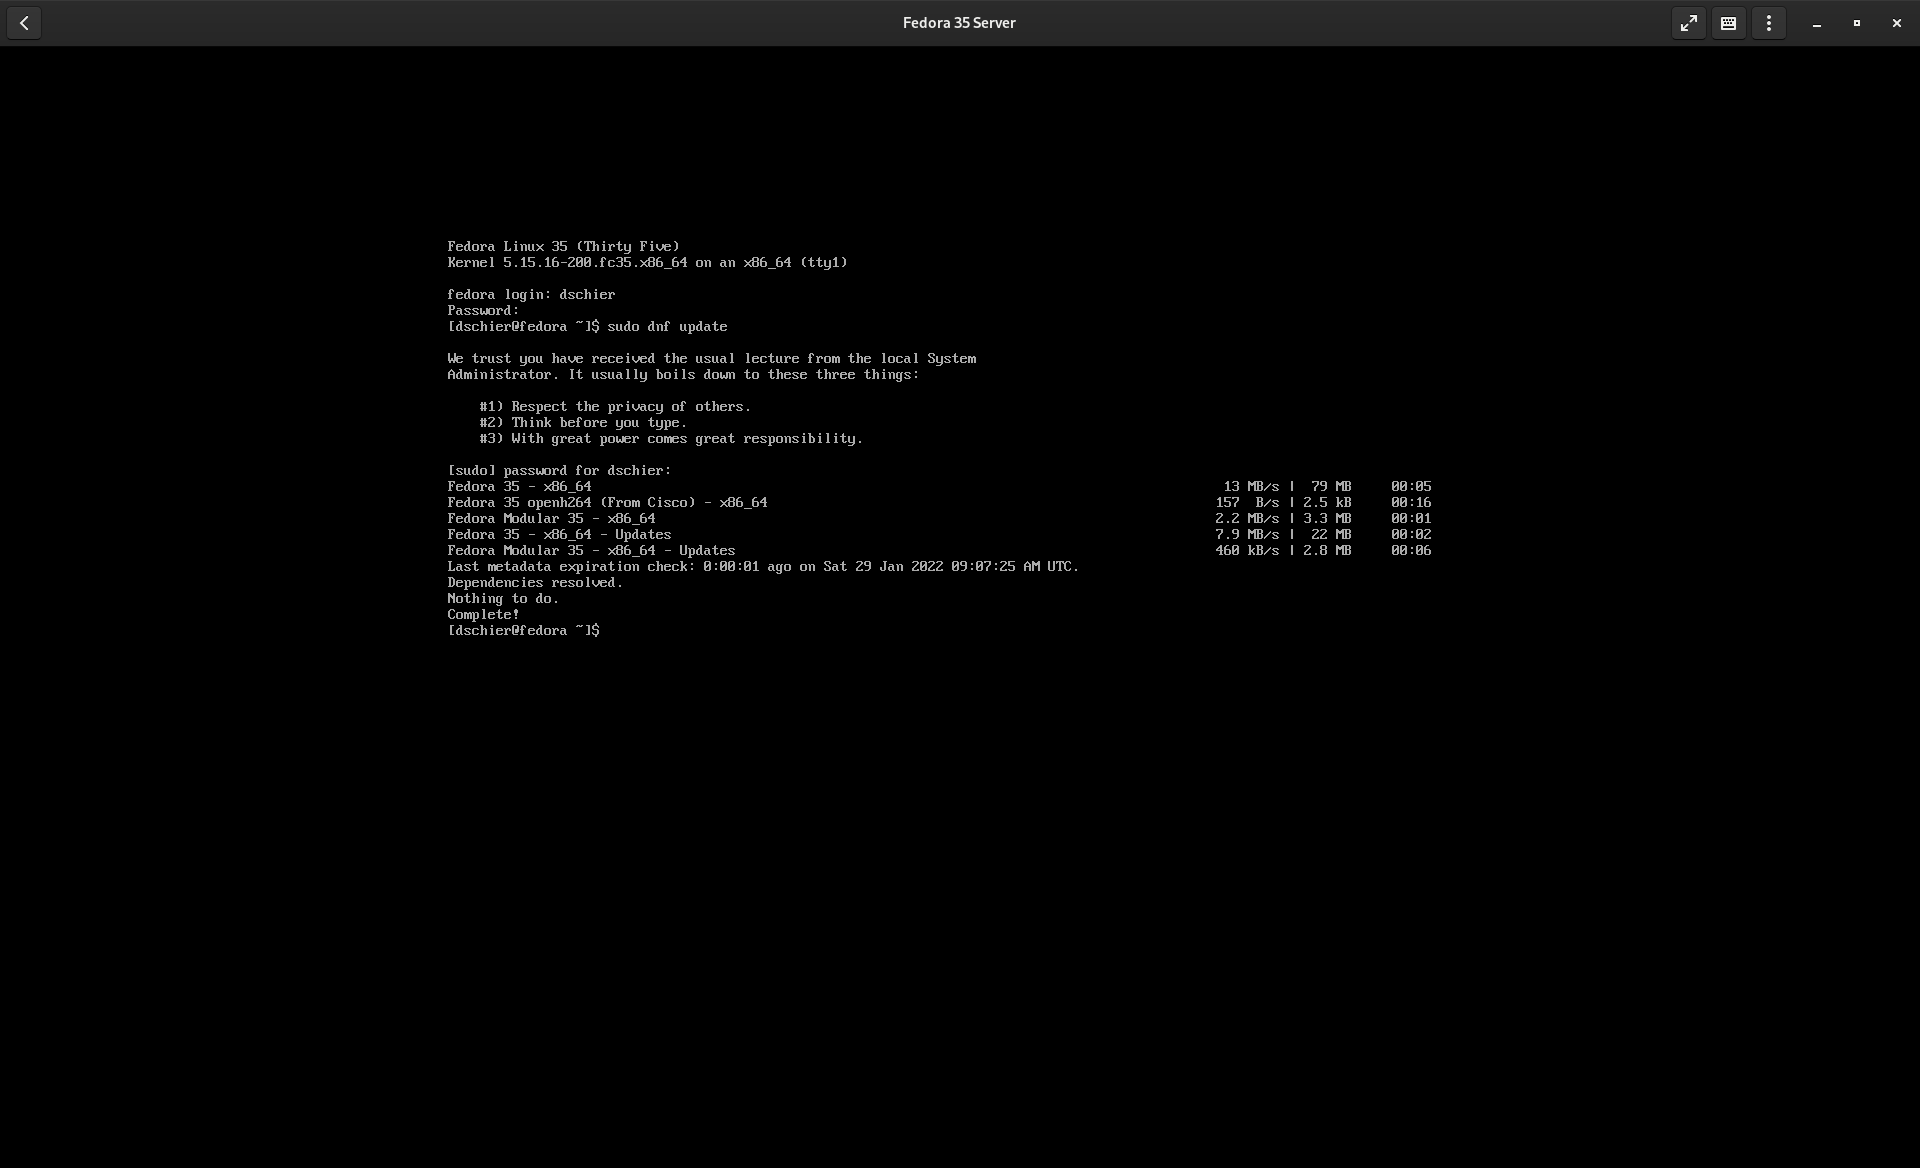
Thats it for now. In the next part, we will set up some automation and do basically everything that with Ansible.
Alternatives
In case, you really, really don't want to use Fedora, I want to provide some alternatives.
Other RHEL derivates
In case you want to have a longer support window, but trade the possibility to do major upgrades, you might consider RHEL, CentOS Stream, Alma Linux or Rocky. I have covered most in the linked articles and there is no real difference between them. All are free for personal use and are totally valid. Be aware, that I will not adapt the automation scripts to run on these derivates, otherwise all guides should be similar.
Debian / Ubuntu
If you are really into Ubuntu or Debian and want to stick to it, you can do so for sure. For Ubuntu, I recommend sticking to the LTS server version, since it has the longer support period. Be aware, that many steps of this tutorial/series must be adapted and some of them cannot be applied the same way.
openSUSE
openSUSE is another viable option, if this is your thing. In case you want to use this option, you can take the tools and guidance from the articles, but you need to do lots of work on your own.
other distributions
In case you are considering other distributions like Gentoo, Arch Linux or Clear, most of the tools in the articles can be used, but you need to adapt the guides to your own. At least the mentioned distributions provide awesome guides in the wikis and have a very helpful community.
Conclusion
The warm up is over, the operating system is installed and I am thrilled to automate everything else. In the next part we will install and configure Ansible, but also automate our first tasks. Do you already have some plans for your machine? Which hardware do you use?
Continue
Please check out the next article of this series.