Fedora - Home Server (Virtualization 1/2)
Virtualization opens a wide variety of possibilities. If you want to test a new OS release or set up some special workload, a Virtual Machine can be used easily.

Virtualization opens a wide variety of possibilities. If you want to test a new OS release or set up some special workload, a Virtual Machine can be used easily.
In the following two articles, we will add Virtualization to our home server and also set up some automation to provision new Virtual Machines.
Intro
This series is explaining how we are setting up a home server from scratch. The previous articles are addressing the basic setup, including some management.
- Intro & Concept
- Hardware & OS
- Automation
- Management
- Virtualization
- Container
- Time, DHCP, DNS Server
- Git Server
- File, Calendar, Contact Sync
- Application Dashboard
So, let's dig into Virtualization. Shall we?
Virtualization
You may have heard of Virtualization already, but let's review the idea and possibilities again. Since we want to tackle containers in the next article, I want to use this section to explain it a bit and describe the major difference to containers.
Virtualization provides the option to set up a complete machine. This is done by simulating or forwarding (pass through) hardware, UEFI/BIOS, CPU, memory and much more. The major benefit is, that you are not limited to one operating system. A virtual machine works pretty much the same as a real machine. In fact, basically every "root server" that you can order at your hosting provider is just a virtual machine.
You can install another Fedora in it, for sure. But you can also install FreeBSD, Ubuntu or Windows in a virtual machine, and it is very likely that it just works.
On Linux, the most prominent virtualization method is KVM. It provides an integrated (as integrated in the Kernel) solution to run virtual machines.
And this is exactly what we want to do.
- Configure our Network to allow different scenarios
- Setup KVM
- Graphical Frontend (via Cockpit)
- Automate the setup of new virtual Fedora machines
So, let's dig into this.
Automation (again ...)
The last time we started with a playbook, that prepares the machine. Ansible can do everything we want, again. So, let's extend the playbook. If you lost it, you can check out the previous article or have a look at the playbook in my repository.
KVM Setup
KVM is the Kernel based Virtualization for Linux. We just need to install a couple of packages and start the service to get in running. We will extend the previous work or write another playbook as shown below.
---
- name: "Configure Fedora Homeserver"
  hosts: "all"

  vars_files:
    - "../manifest.yml"

  tasks:

    # Virtualization

    - name: "Manage Virtualization Packages"
      ansible.builtin.package:
        name:
          - "libvirt"
          - "libvirt-client"
          - "libvirt-daemon-config-network"
          - "qemu-kvm"
        state: "present"
      become: true

    - name: "Manage Virtualization Services"
      ansible.builtin.service:
        name: "{{ item }}"
        state: "started"
        enabled: true
      become: true
      loop:
        - "virtqemud.service"
        - "virtnetworkd.service"
...This will install "qemu-kvm" and "libvirt", which are needed for virtualization. The "libvirt-client" can be used to interact with virtual machines on the command-line, and "libvirt-daemon-config-network" is used to configure a virtual bridge for internal networking.
If everything went well, you can log in to the machine and check if everything is fine.
# Check user VMs
$ virsh list all

# Check root VMs
$ sudo virsh list all
There are many more sub-commands for the virsh command available, which are very well documented.
Cockpit Integration
Working with the command line can be very useful, but we can make it easier. Cockpit provides a useful integration for KVM machines and allows creating and managing your virtualization graphically.
So, let's automate the installation of some additional packages. This will also add our first handler to the playbook.
---
- name: "Configure Fedora Homeserver"
  hosts: "all"

  vars_files:
    - "../manifest.yml"

  handlers:

    - name: "Restart Cockpit Socket"
      ansible.builtin.service:
        name: "cockpit.socket"
        state: "restarted"
      become: true
      tags:
        - "cockpit"
        - "kvm"

    - name: "Reboot system"
      ansible.builtin.reboot:
        reboot_timeout: 3600
      become: true
      tags:
        - "network"

  tasks:

    # Virtualization

    - name: "Manage Virtualization Packages"
      ansible.builtin.package:
        name:
          - "libvirt"
          - "libvirt-client"
          - "libvirt-daemon-config-network"
          - "qemu-kvm"
        state: "present"
      become: true
      tags:
        - "kvm"

    - name: "Manage Virtualization Services"
      ansible.builtin.service:
        name: "{{ item }}"
        state: "started"
        enabled: true
      become: true
      loop:
        - "virtqemud.service"
        - "virtnetworkd.service"
      tags:
        - "kvm"

    - name: "Manage cockpit Machines Packages"
      ansible.builtin.package:
        name: "cockpit-machines"
        state: "present"
      become: true
      notify:
        - "Restart cockpit Socket"
      tags:
        - "cockpit"
        - "kvm"
...But, we are not done yet. For some convenience, I also want to set up a proper network to reach the machines directly.
Network Setup
KVM and libvirt are providing a default network, which can be used for internal communication. This is a NAT network, which allows virtual machines to reach out of the home server, but no inbound traffic. Furthermore, the virtual machines will get an internal IP address from our home server.
You can check out this network on the home server either via Cockpit or the below command.
# List libvirt networks
$ sudo virsh network list
This is nice, but we also want to communicate directly with our VMs from a local network. This can be done in multiple ways. I recommend to use libvirt networks, which provide some cool behavior for the same. So, let's set up a new libvirt network.
Configuring these things can be done via Cockpit or command line, too. But, automation is the way to go. First, we want to add a new host bridge to our home server.
...
    - name: "Manage network Packages"
      ansible.builtin.package:
        name:
          - "bridge-utils"
          - "python-lxml"
        state: "present"
      become: true
      tags:
        - "kvm"
        - "network"

    - name: "Manage physical bridge Device"
      community.general.nmcli:
        type: "bridge"
        conn_name: "phybr0"
        ifname: "phybr0"
        stp: true
        state: present
      become: true
      notify:
      	- "Reboot system"
      tags:
        - "network"

    - name: "Manage physical bridge Member"
      community.general.nmcli:
        conn_name: "eno1"
        ifname: "eno1"
        type: "bridge-slave"
        master: "phybr0"
        state: "present"
      become: true
      notify:
      	- "Reboot system"
      tags:
        - "network"
...You may need to adjust the second task, so ifname and conn_name are matching your interface name. You can find the proper values on your home server with a simple command.
# Check connections and interfaces
$ nm-cli connection show
After these tasks, we will have a new Network Manager connection. This can now be added to libvirt, so our VMs can use it easily. We just need to add two more tasks to our playbook.
...
    - name: "Manage libvirt bridge Network"
      community.libvirt.virt_net:
        command: "define"
        name: "bridge"
        xml: "{{ lookup('template','libvirt_net_bridge.xml.j2') }}"
      become: true
      tags:
        - "network"
        - "kvm"

    - name: "Manage libvirt bridge State"
      community.libvirt.virt_net:
        name: "bridge"
        autostart: true
        state: "active"
      become: true
      tags:
        - "network"
        - "kvm"
As you can see, we will need a template with the name "libvirt_net_bridge.xml.j2". It's quite simple to create it. You need to create a directory first.
# Create the template directory
$ mkdir ansible/playbooks/templates/
Now you can put the below template file there.
<network>
    <name>bridge</name>
    <forward mode="bridge" />
    <bridge name="phybr0" />
</network>
Lastly, we need to update the "requirements.yml", since we are using some new collections.
---
# ansible/requirements.yml

collections:

  - name: "community.general"
  - name: "ansible.posix"
- name: "community.libvirt"Aaaaaand done. The only thing, we need to do is "executing the playbook". This works exactly the same as before.
# Syntax Check the playbook
# To look for syntax errors without executing the playbook
$ ansible-playbook --syntax-check ansible/playbooks/configure.yml

# Dry-Run the playbook
# To check what will be changed
ansible-playbook -i IP_ADDRESS, -u USER -k -K --check --diff ansible/playbooks/configure.yml

# Run the playbook
# To really do the work
ansible-playbook -i IP_ADDRESS, -u USER -k -K ansible/playbooks/configure.yml
Be aware, that your machine will be rebooted and may get another IP Address during the network reconfiguration. You may need to check the IP Address again and update your command above. In my case, this wasn't an issue, since Avahi was promoting the new address properly.
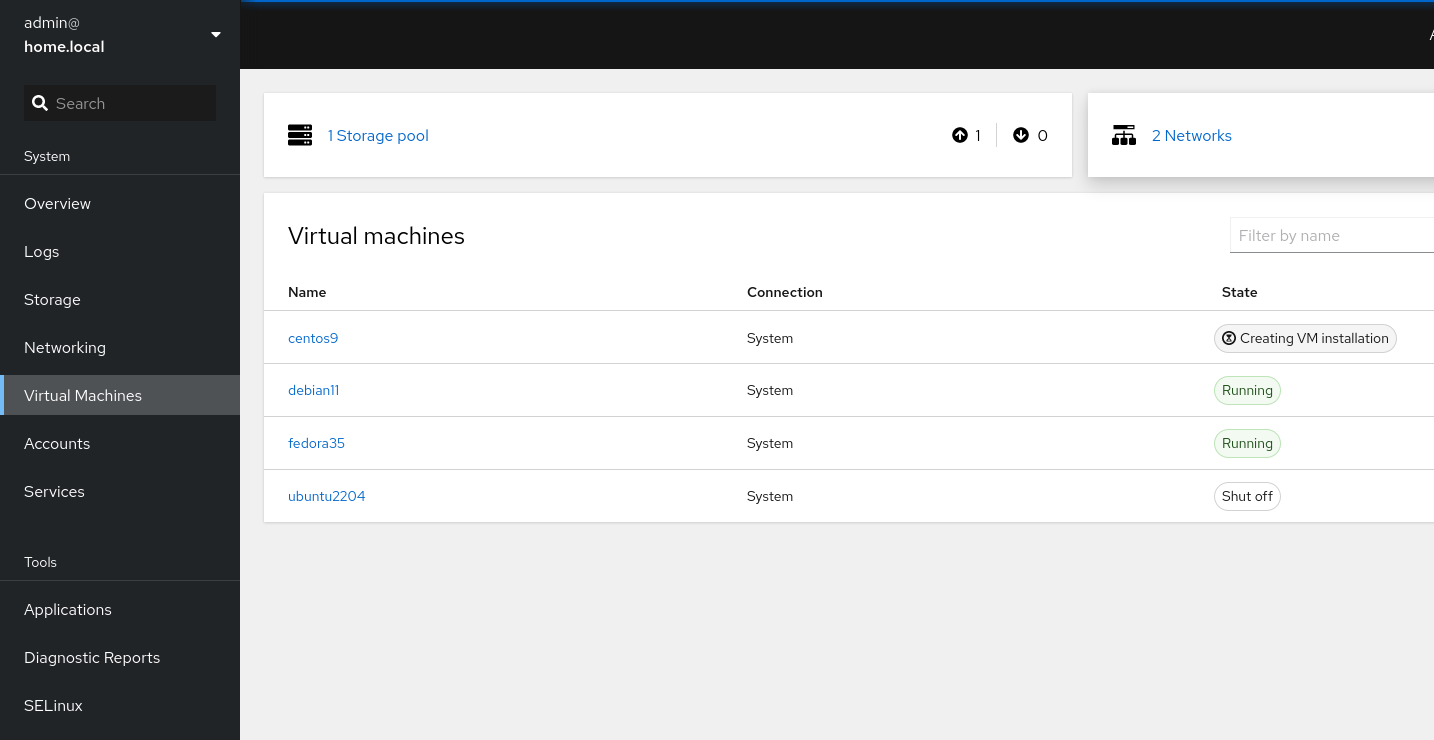
Afterwards, you can log in to the Cockpit Webinterface and check out your options to install new machines. You can also choose between "default" networking (NAT bridge) or "phybr0" networking (bridged to the LAN).
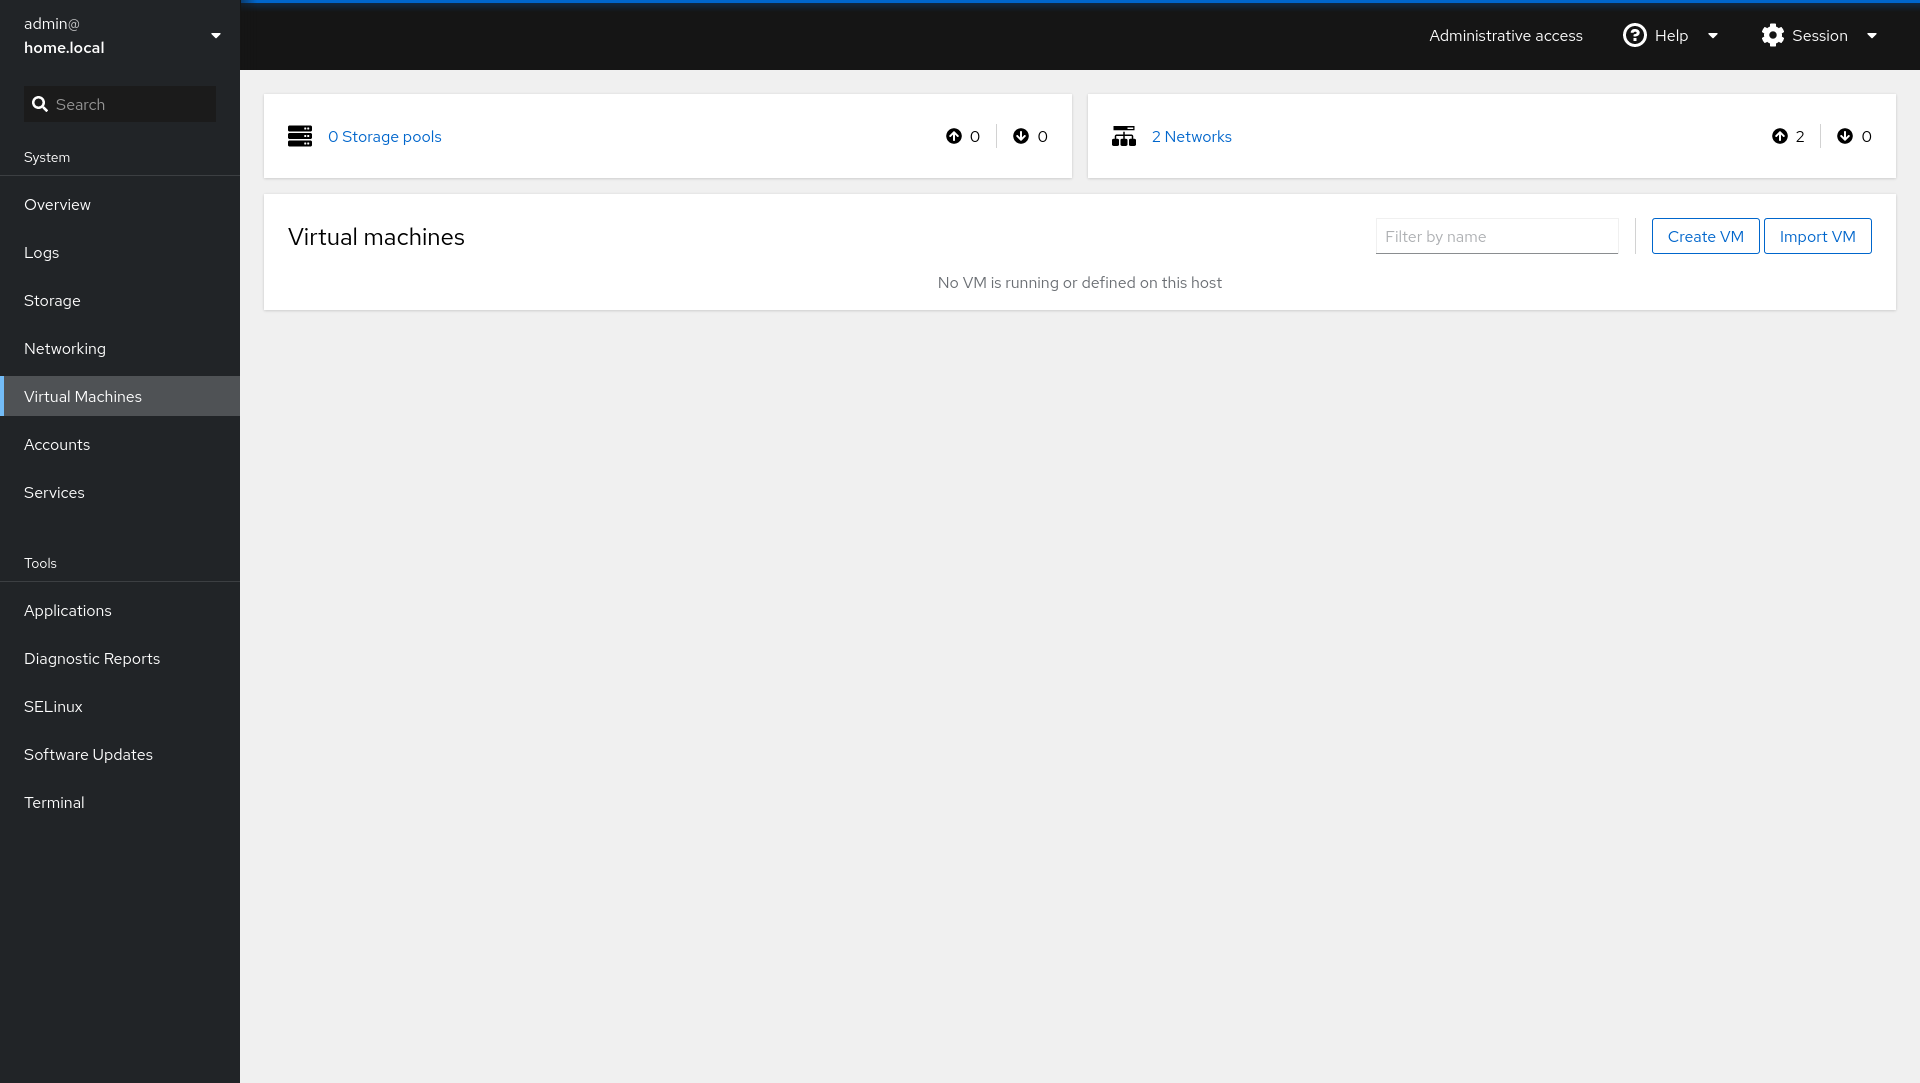
Feel free to create some Virtual Machines and play with your new setup.
Part 2
This article is already quite long, and we can easily double it with more automation. In the next article, we will tackle the automated creation of new virtual machines. Since it is directly related to this article, I will release it already in the next week.
Docs & Links
We are working with some new technology here, and you can find lots of documentation about it on the web.
 dschier-wtd

Conclusion
Setting up a virtualization host is quite easy and a powerful tool for a lab. You can play around with other operating systems, test your Ansible collections and much more. In the last article of the series, we will also set up a Kubernetes server as a Virtual Machine.
What are you doing with virtualization? What have you planned? Do you have additional tips and tricks? I would love to hear from your experience.
Continue
Please check out the next article of this series.